Details | The Cloakroom
With two bathrooms that need designing and redecorating we thought we’d have a practise run on the cloakroom. We like to do as much of the DIY as possible ourselves but tiling and plumbing felt a little daunting. The cloakroom needed a new sink and taps along with floor and wall tiles. How hard can it be right?
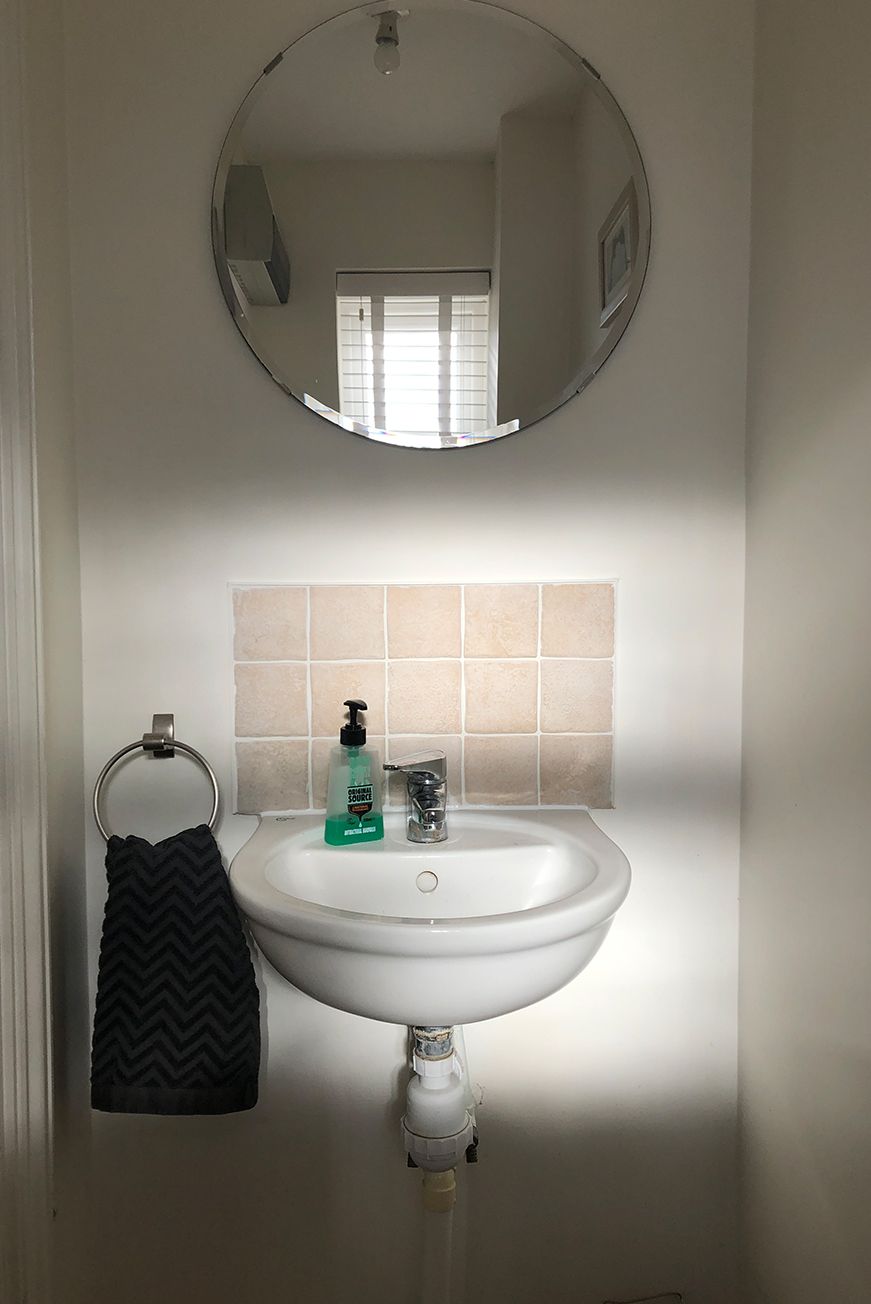
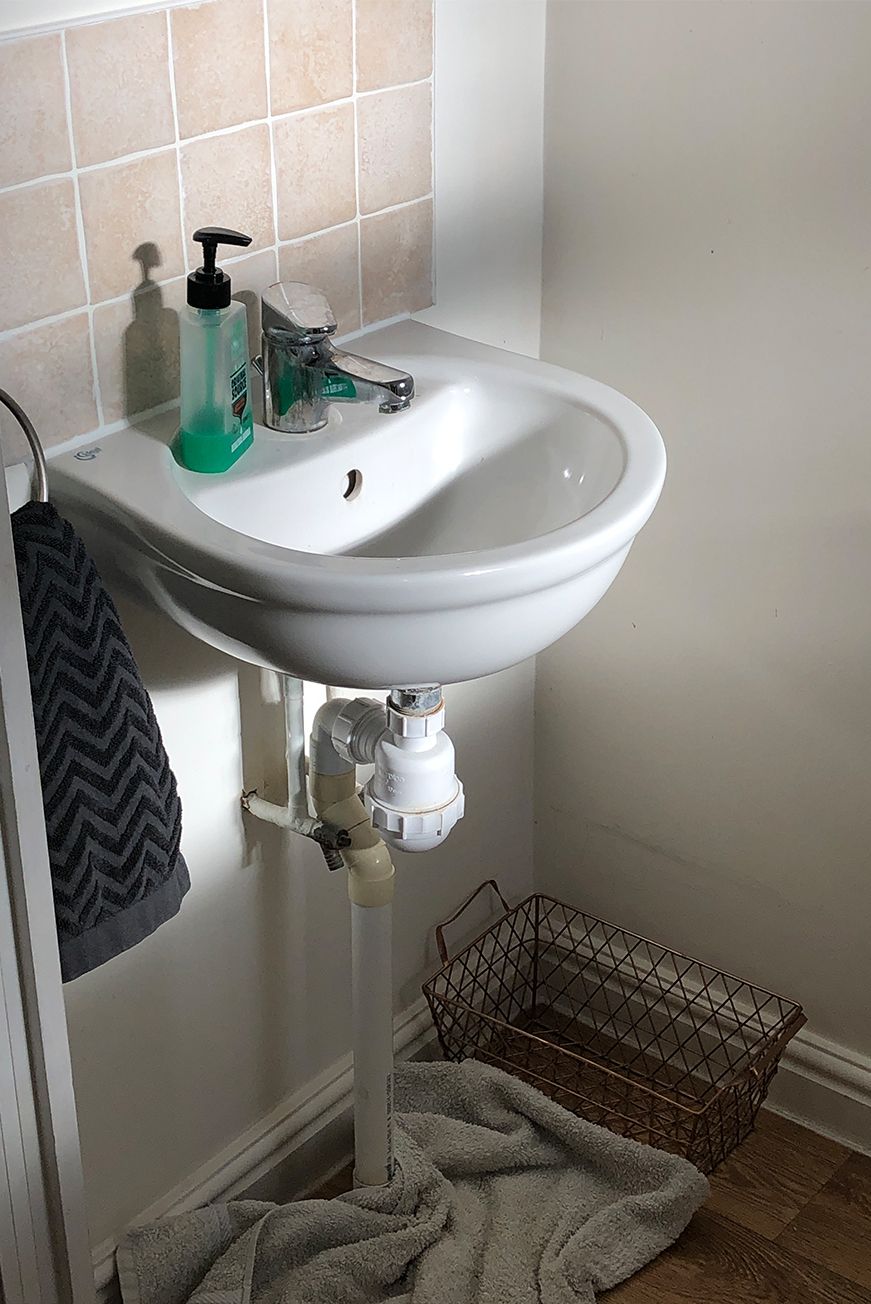
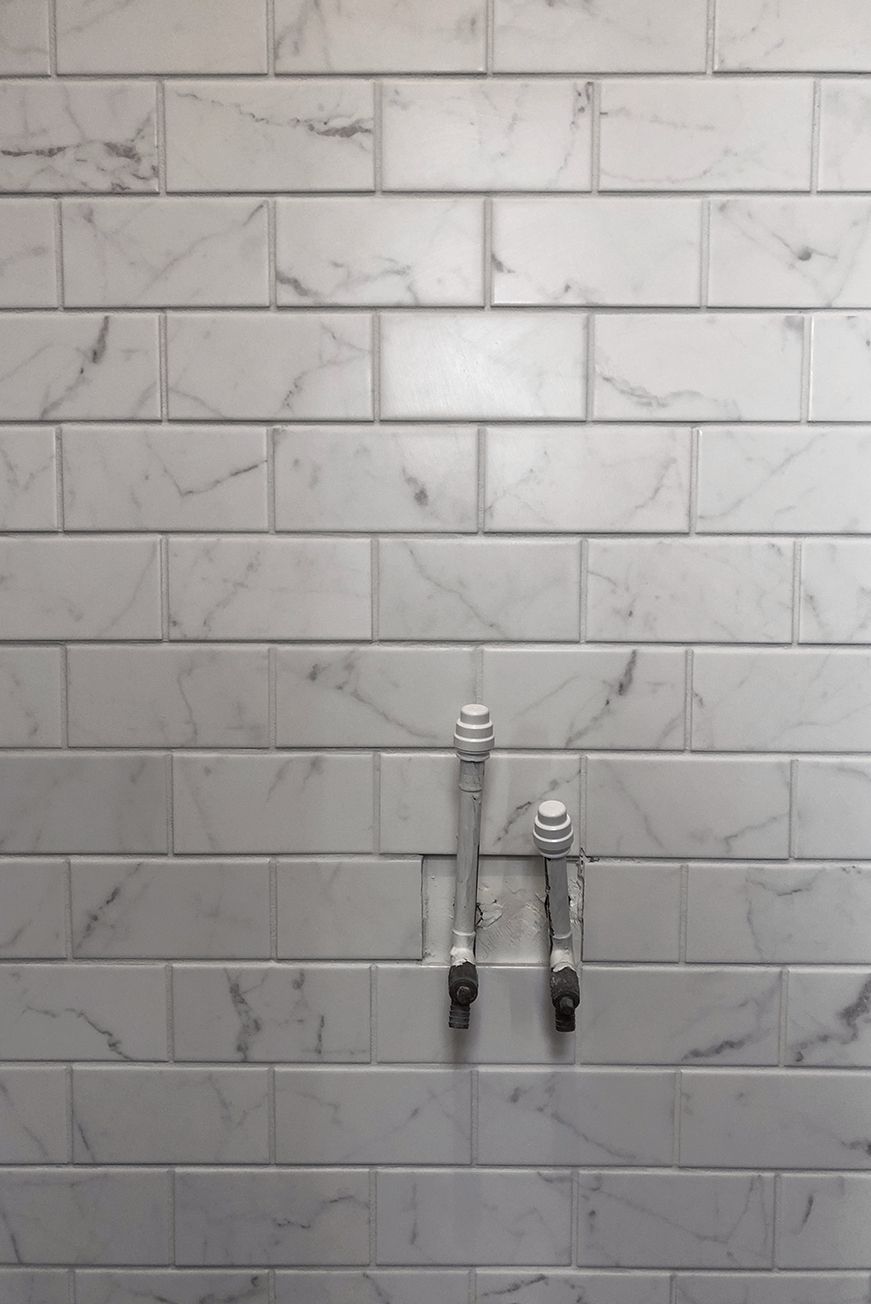
The cloakroom was neutrally decorated, it was just wasn’t to our taste. There was also quite a lot of exposed pipework which looked really messy and leaked (not ideal) The floor was a vinyl which had been badly laid and someone had definitely had a mastic party. It all had to go.
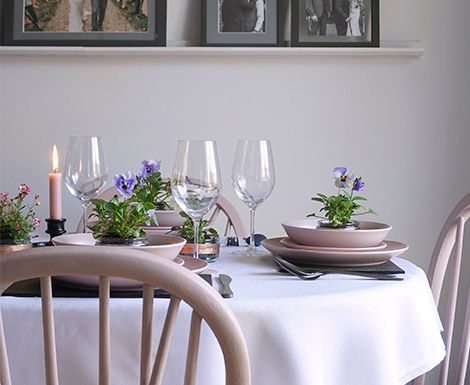
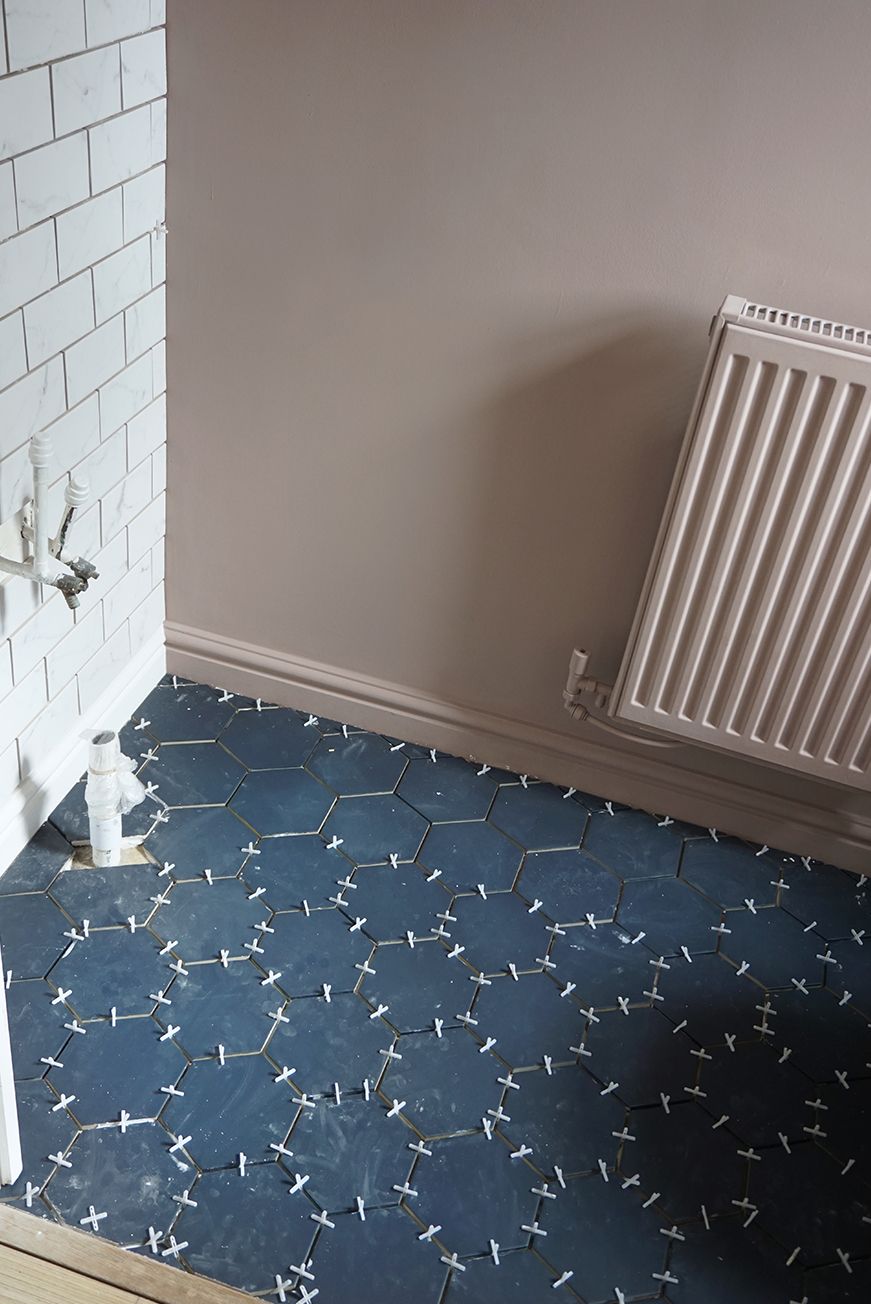
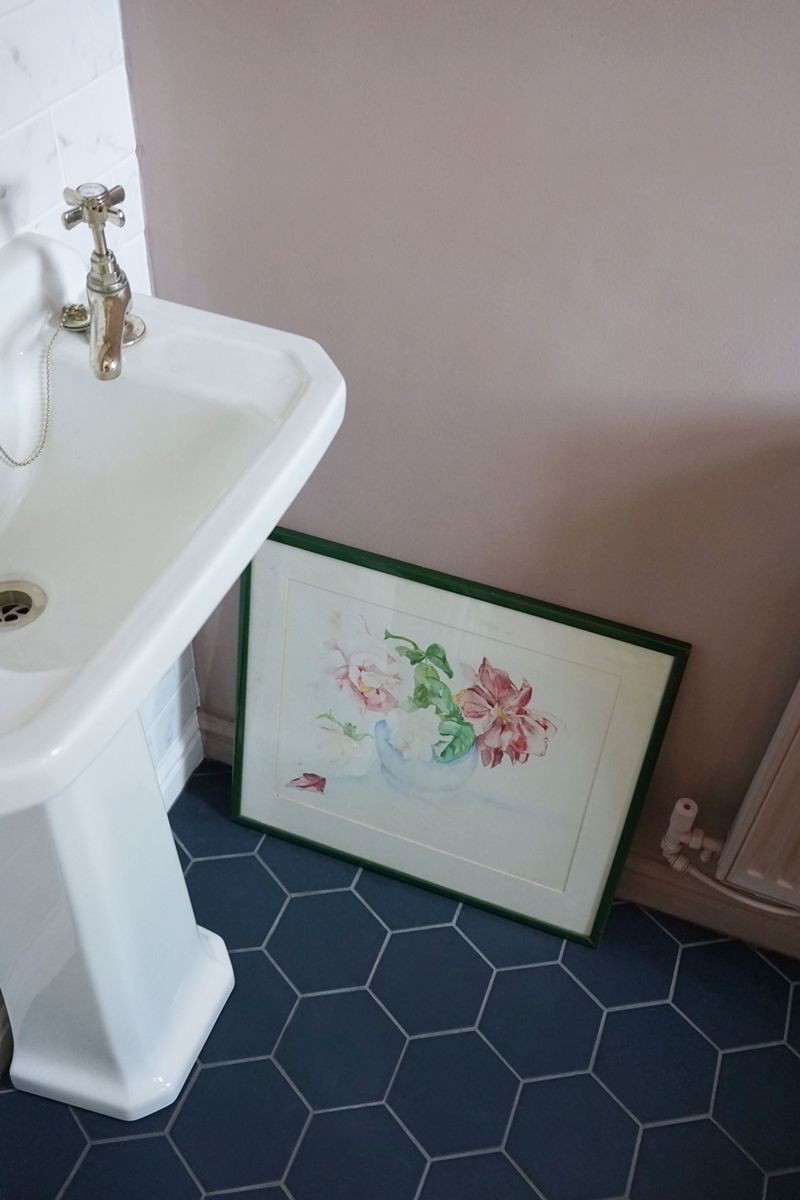
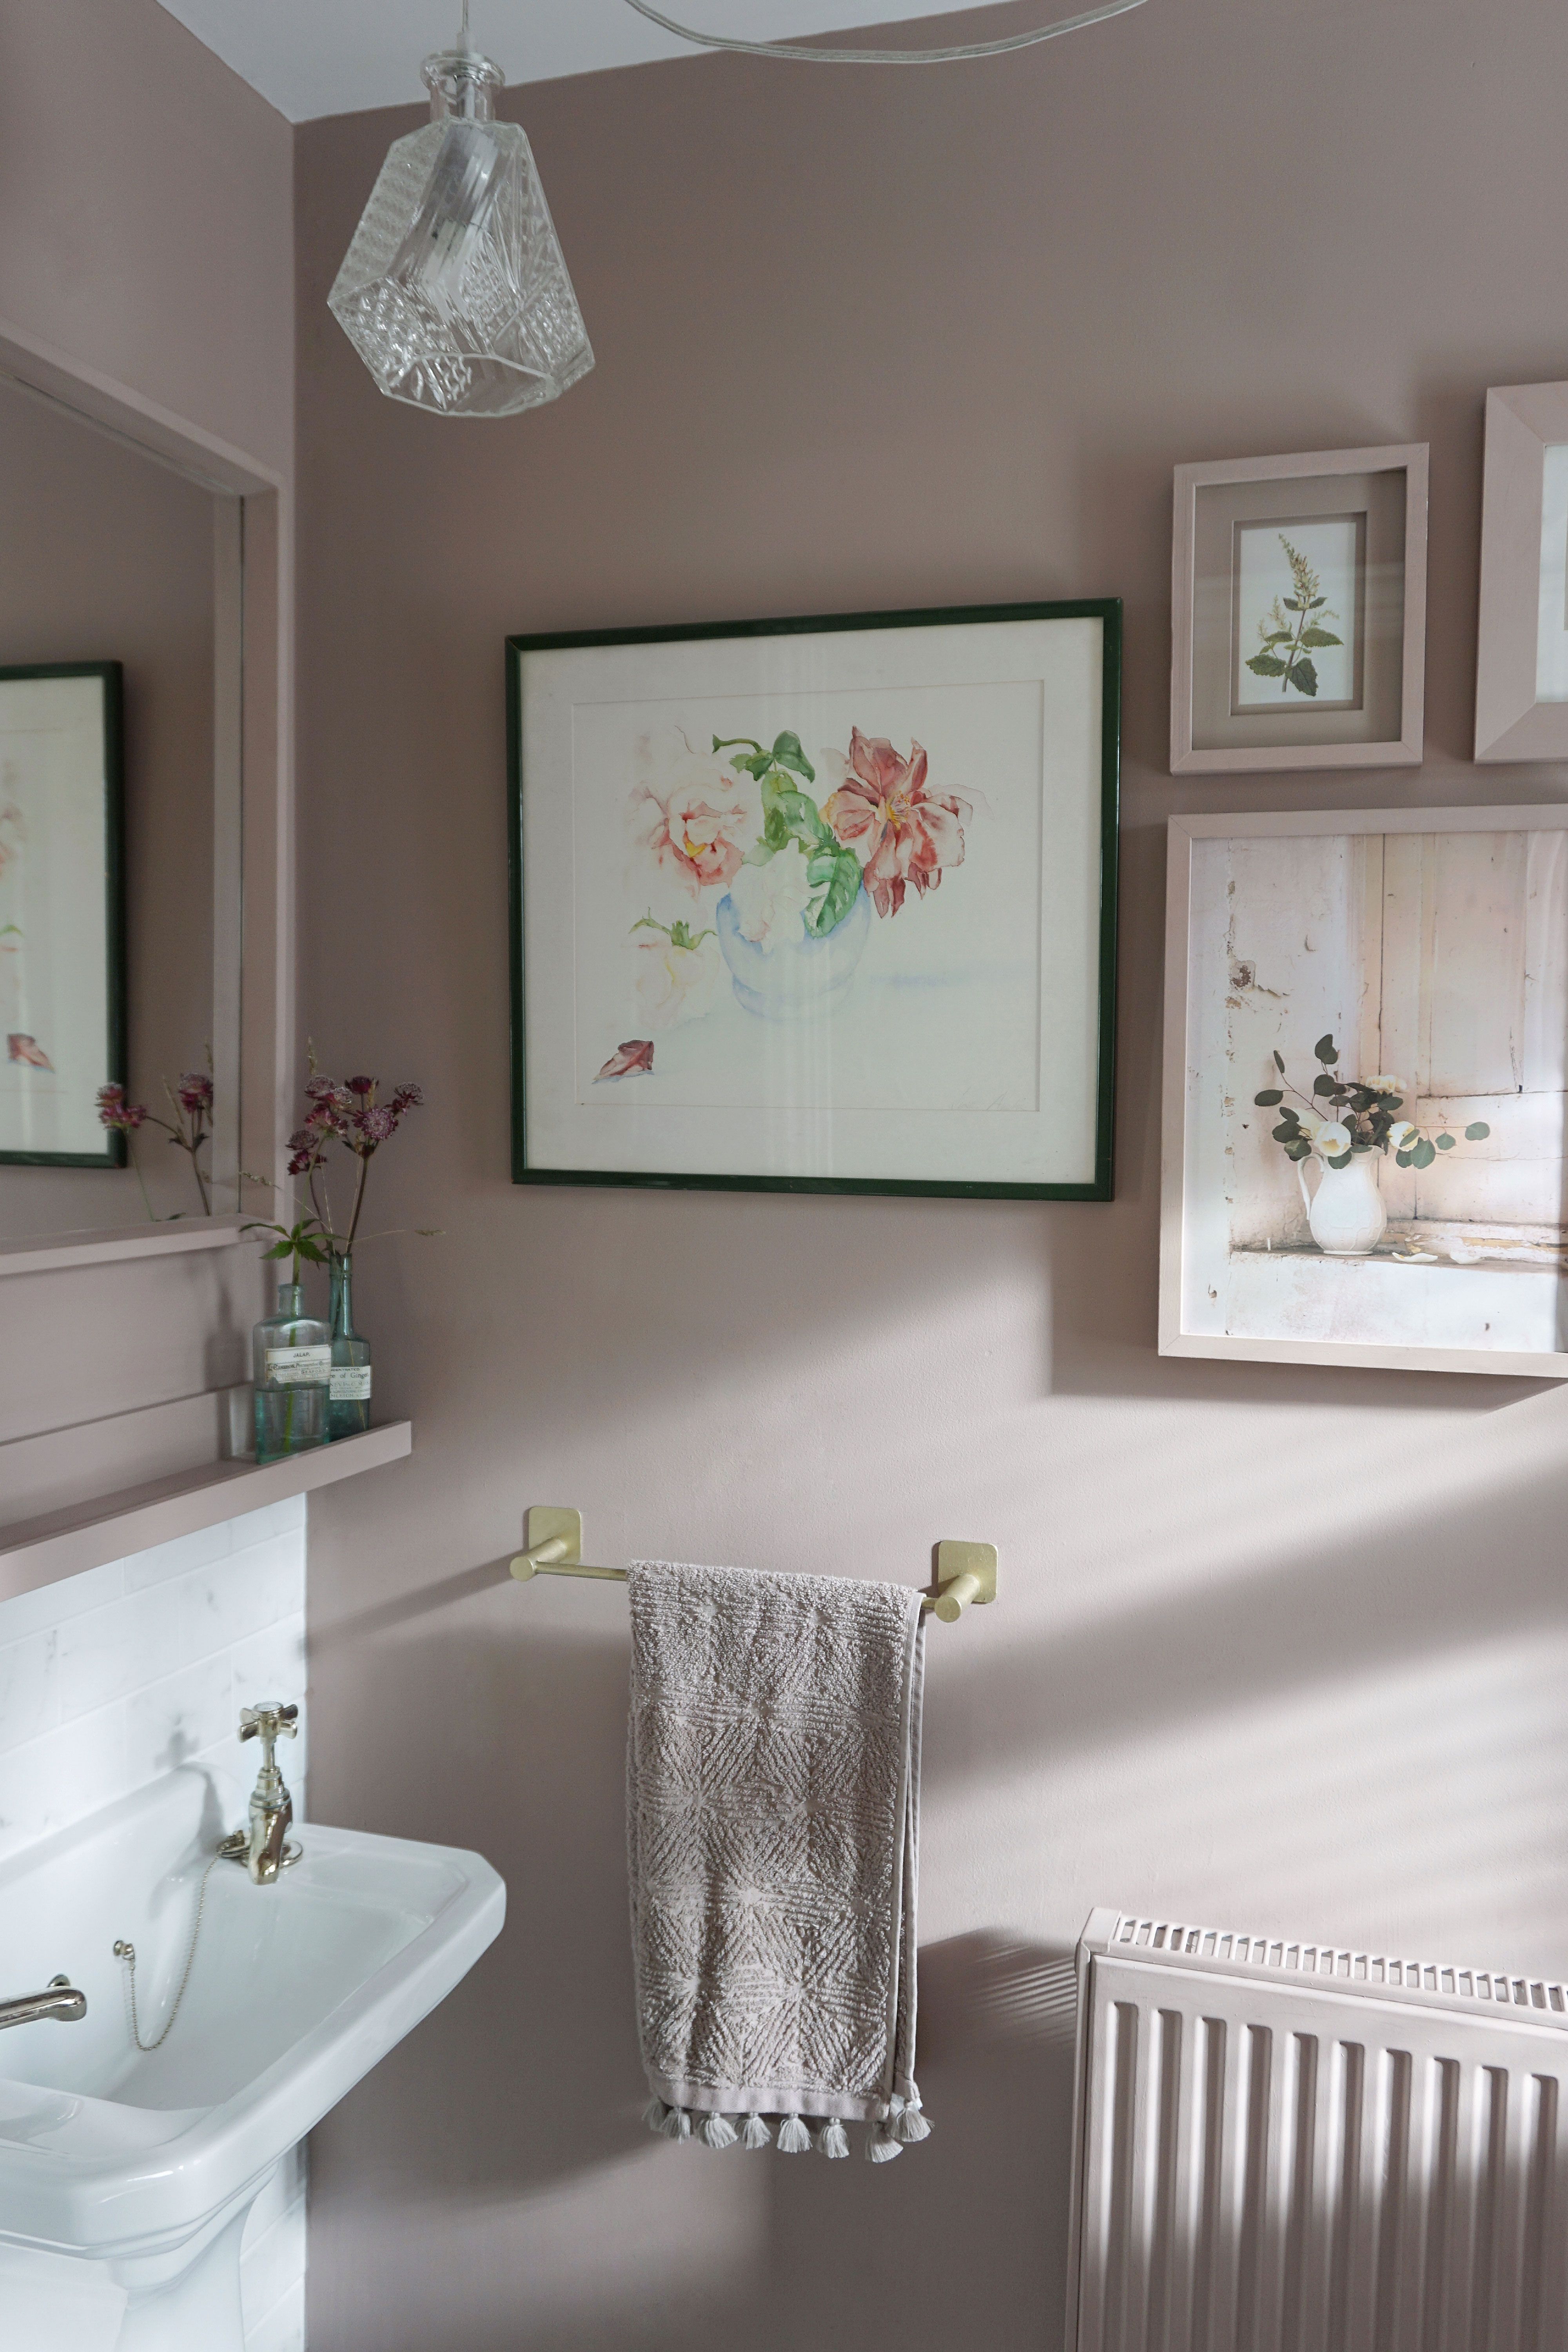
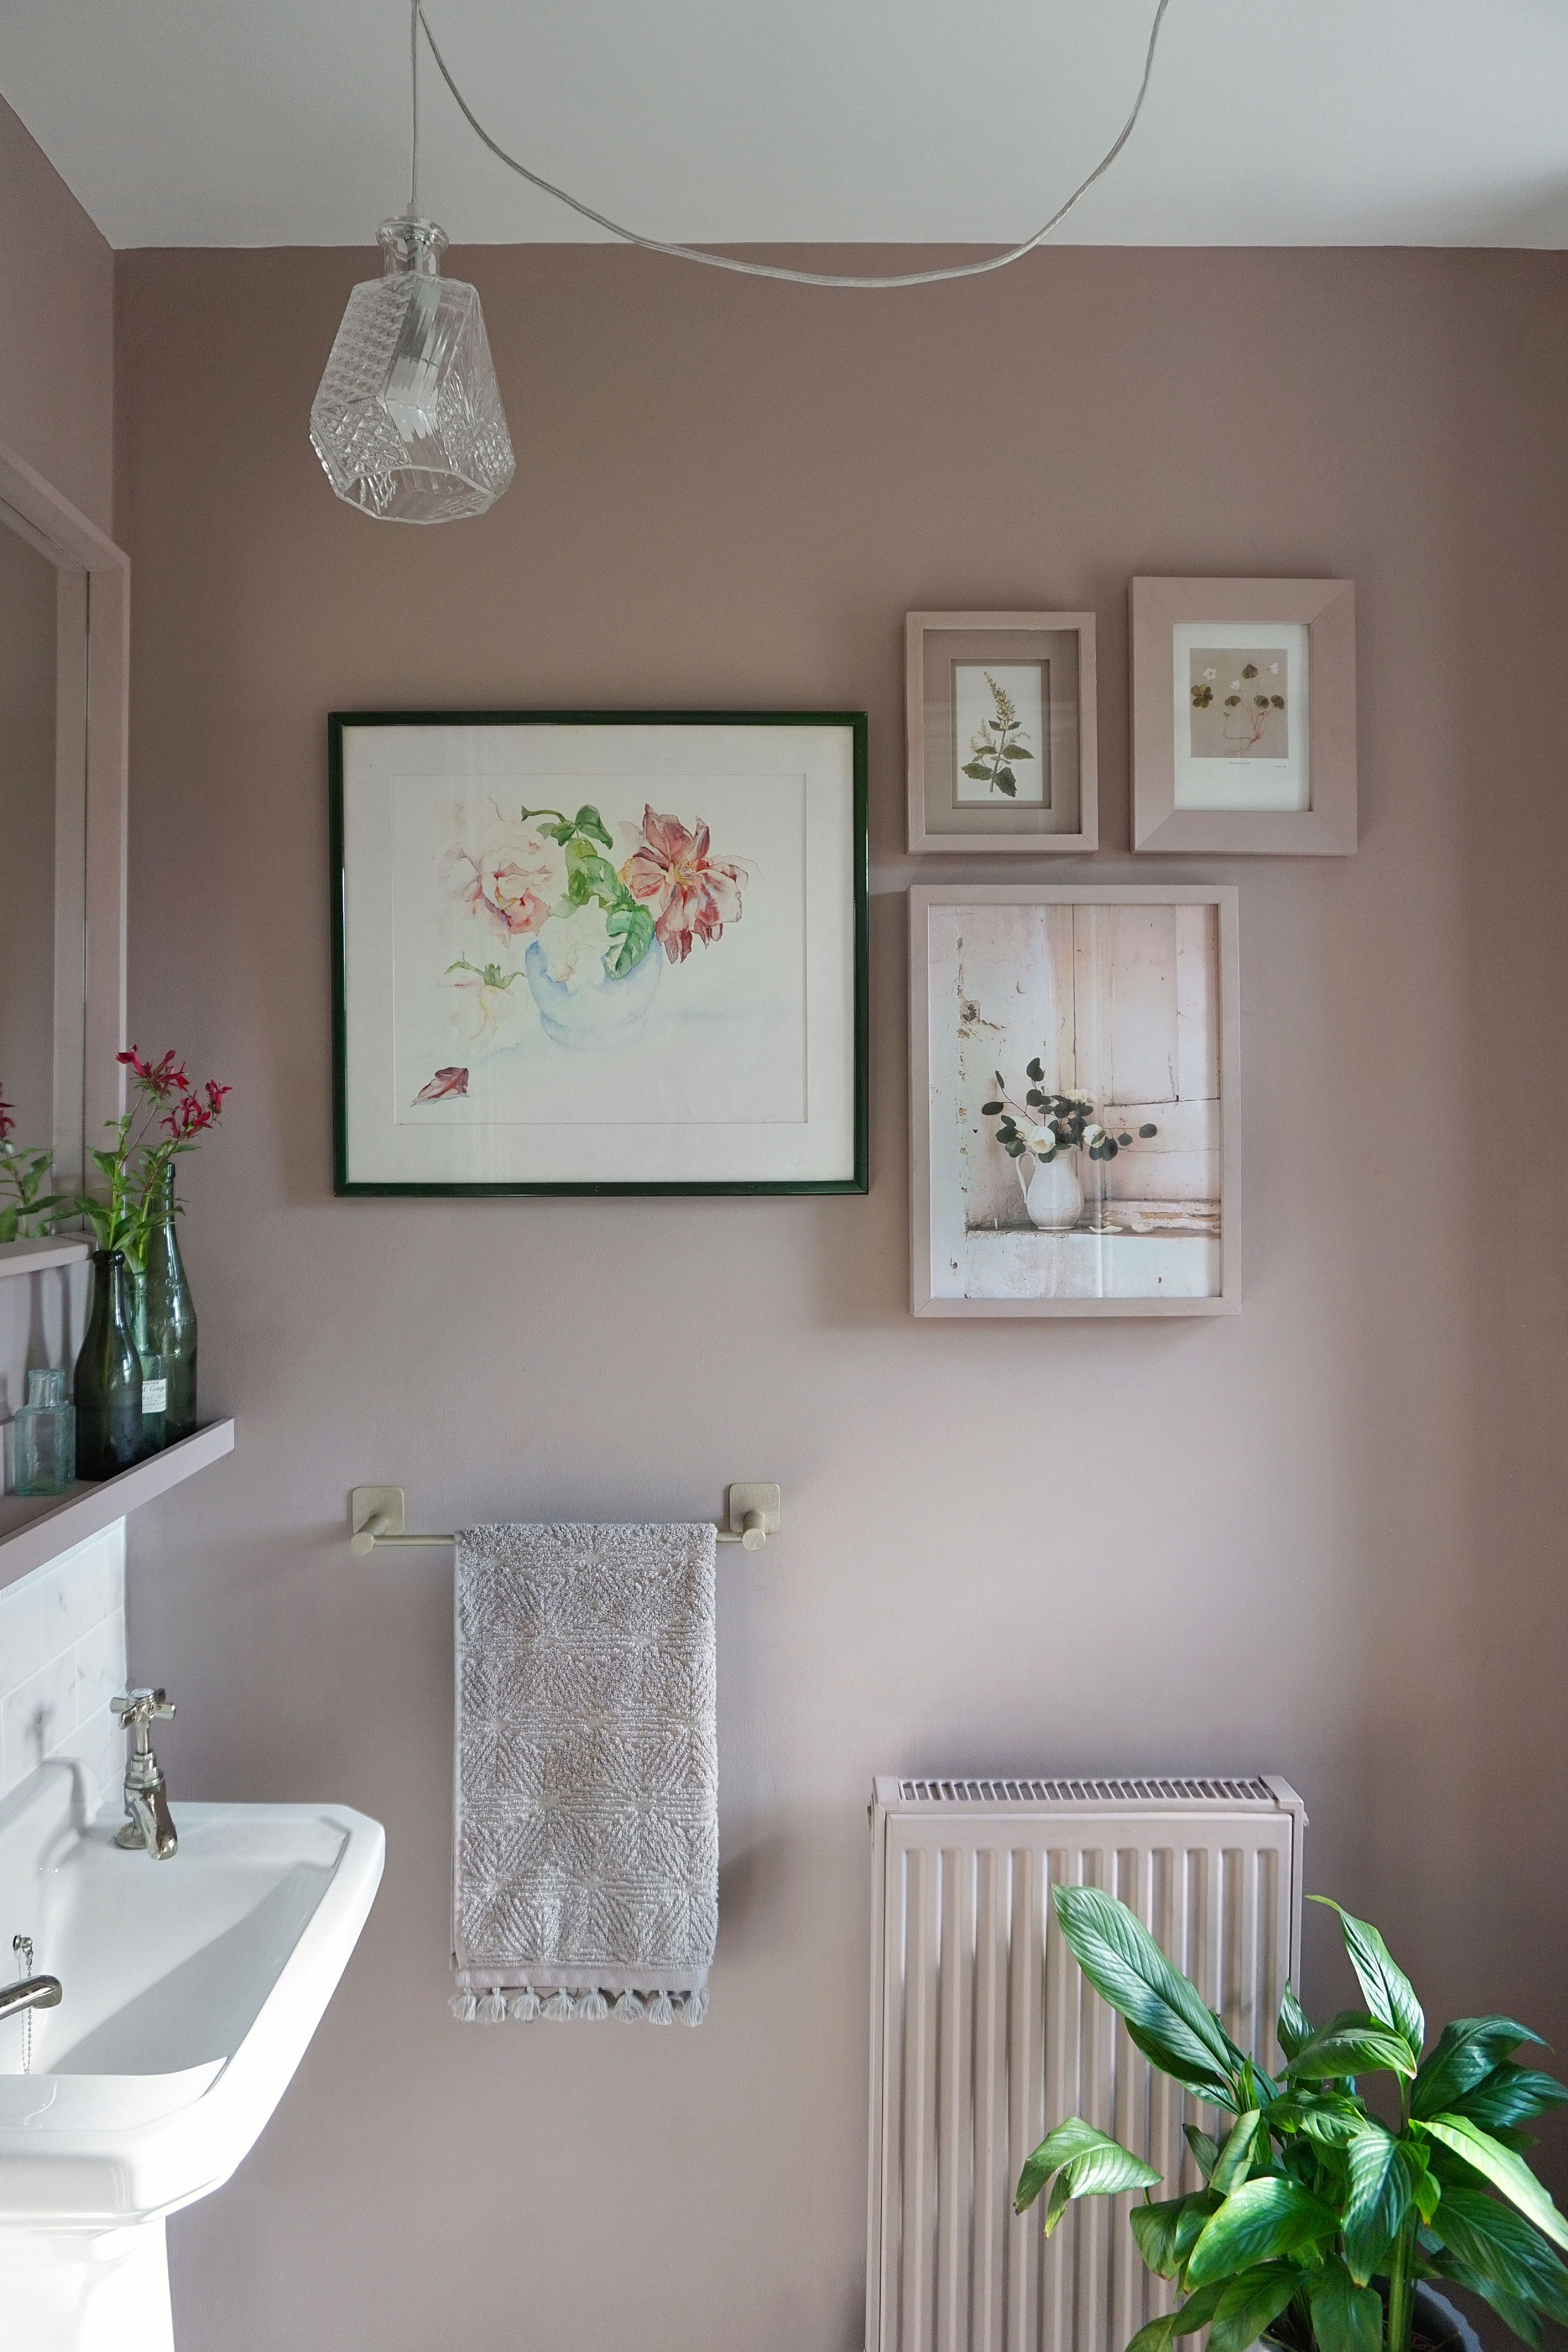
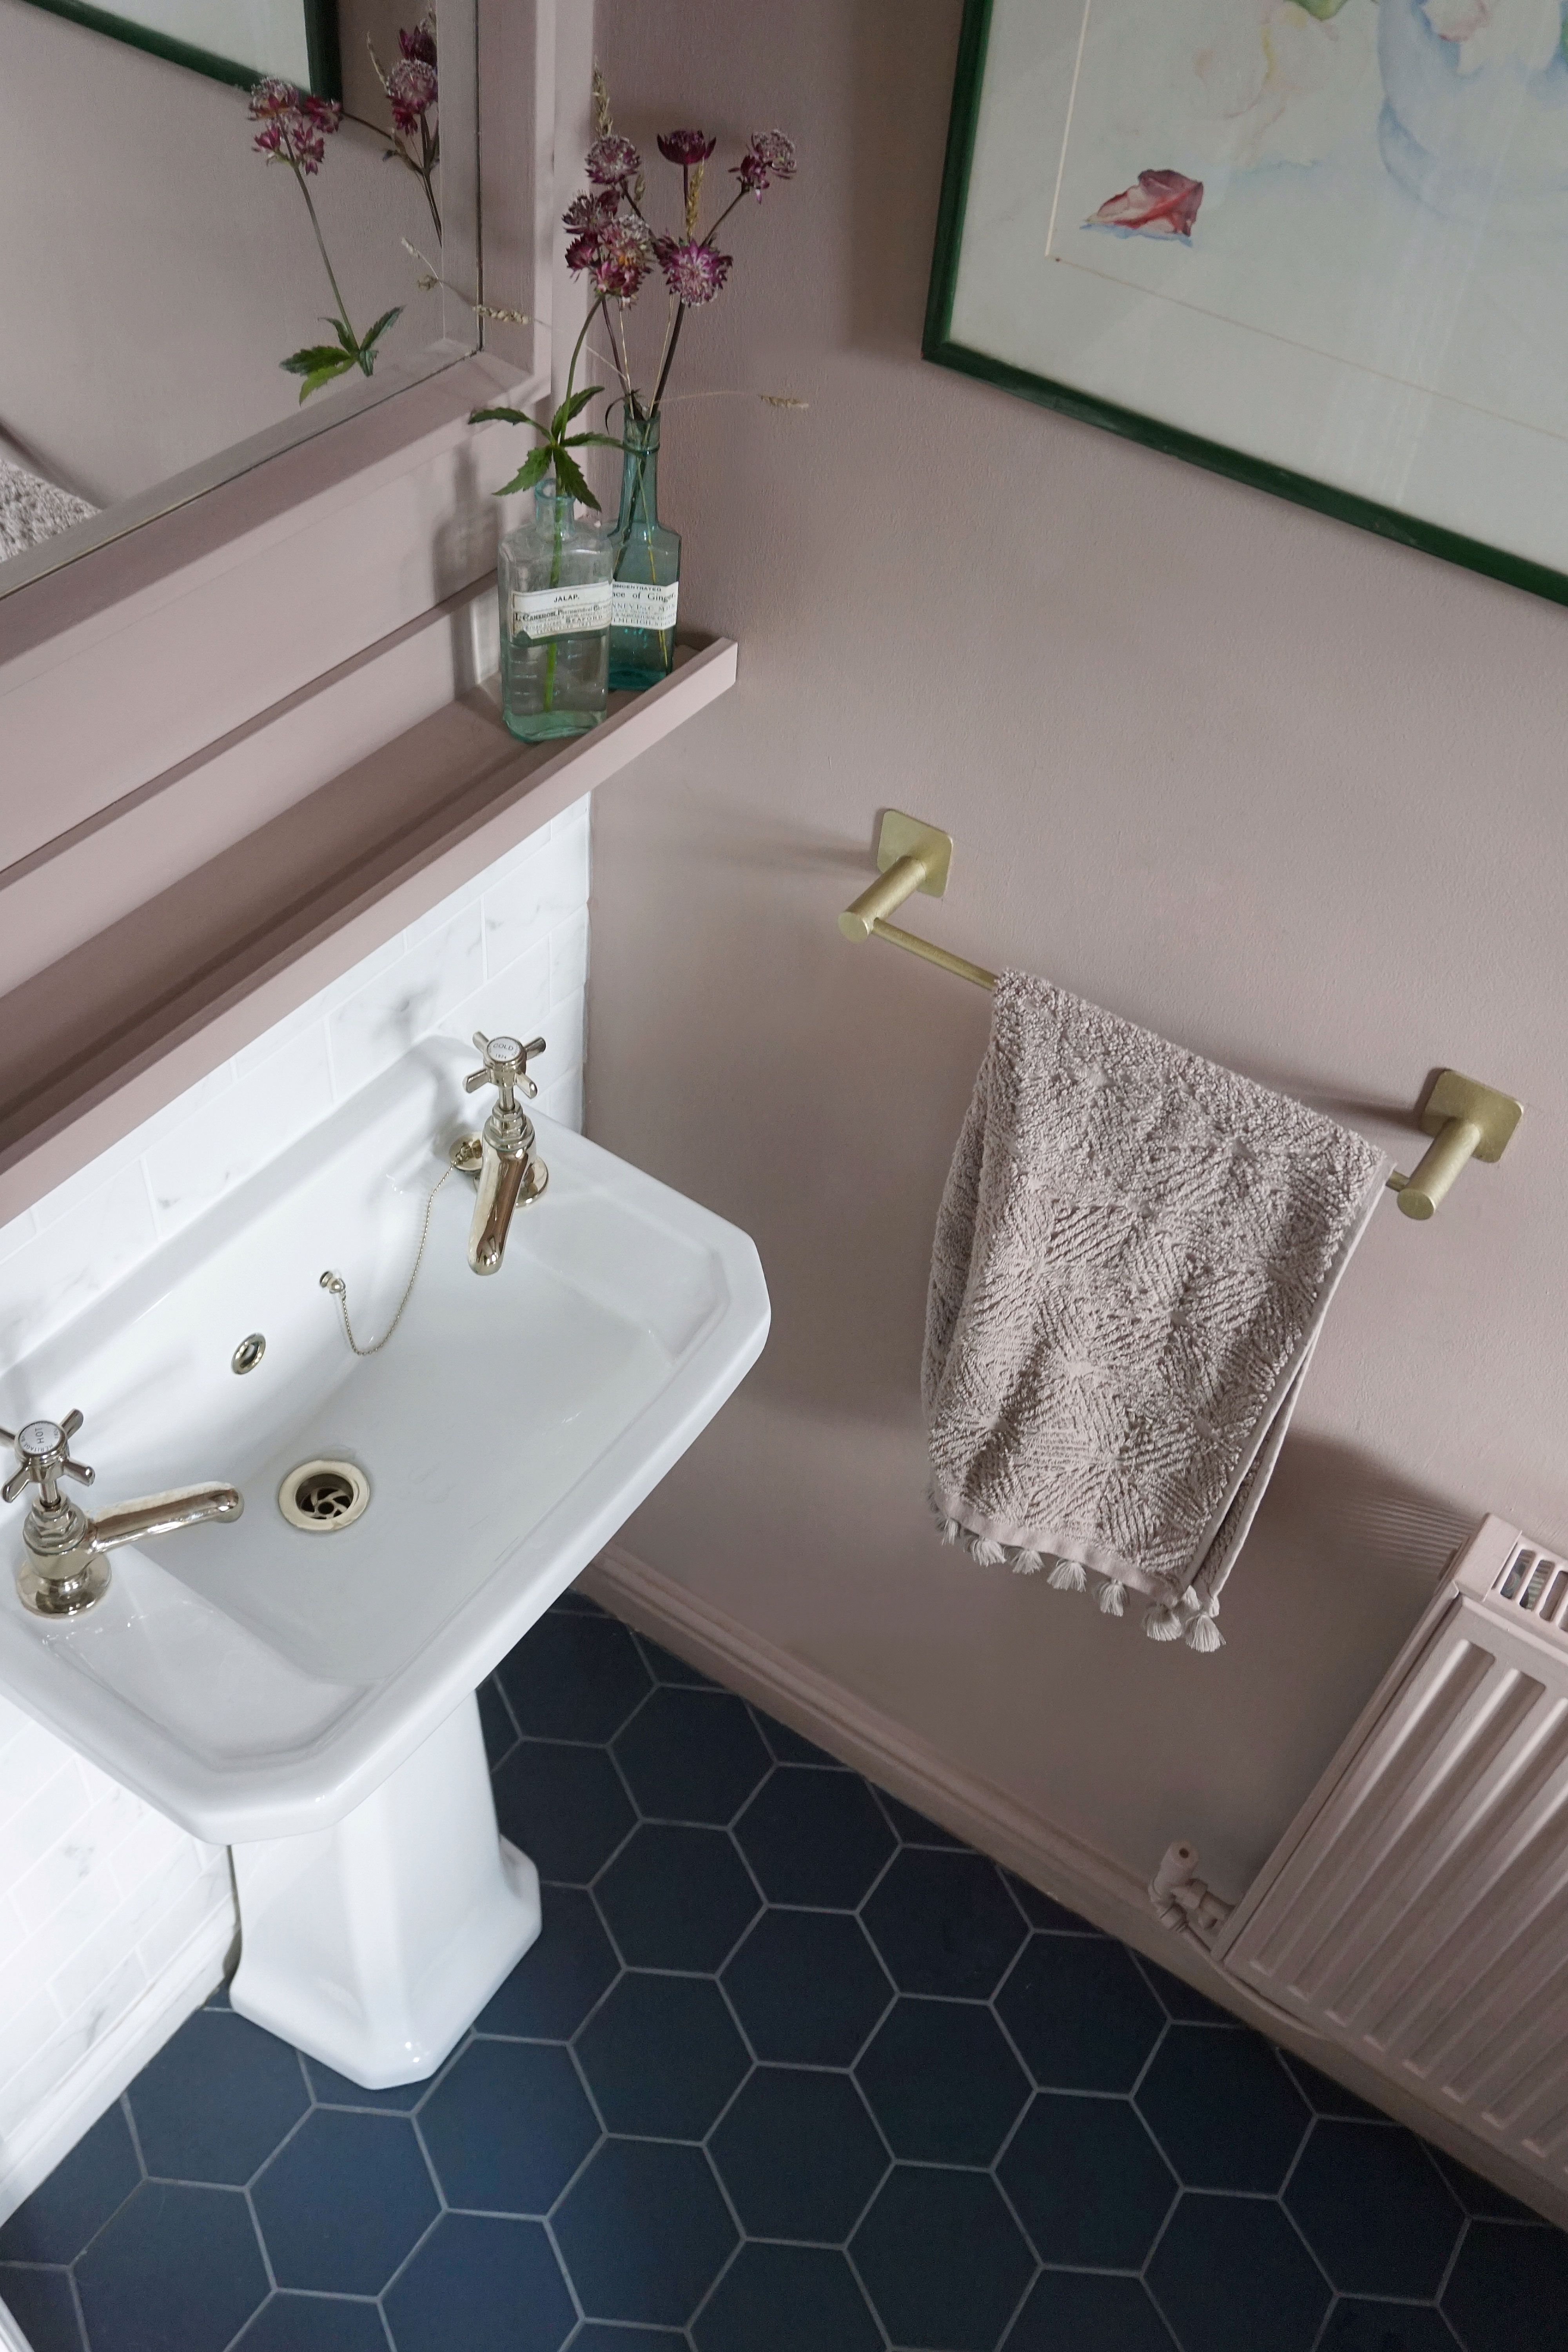
The cloakroom is situated on the ground floor so I was keen for the colours to relate to the open plan kitchen / dining and living area. We had used soft blues and Navy (AKA grey according to my family) in the open plan space with a soft pink accent colour. Sulking room pink by Farrow and Ball seemed like the perfect choice for the cloakroom walls, it connected the two rooms and, well I was desperate to use it! I always think you can be a little braver in cloakrooms so we picked a Navy blue hexagon floor tile. I loved the contrast against the pink and again it linked nicely with our open plan space. We also wanted to incorporate some marble with the wall tiles. In the end we selected an imitation marble tile as it was a fraction of the price.
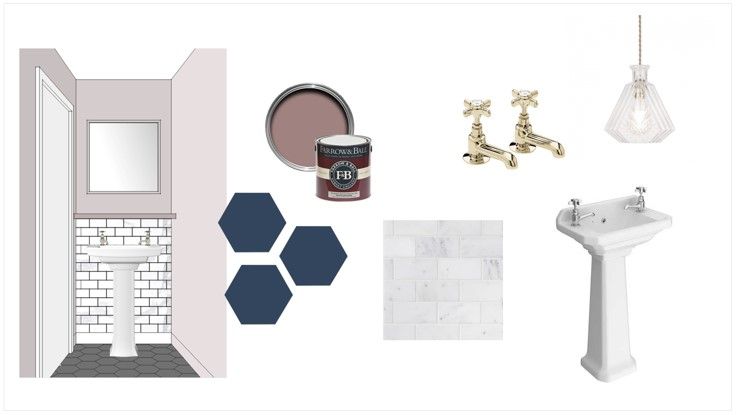
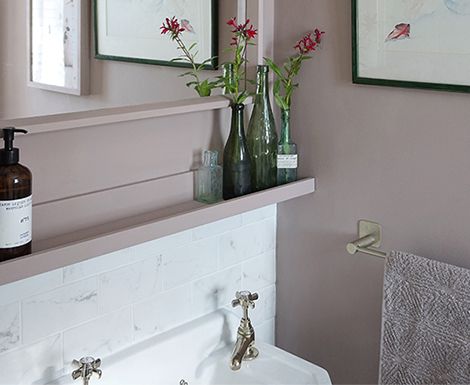
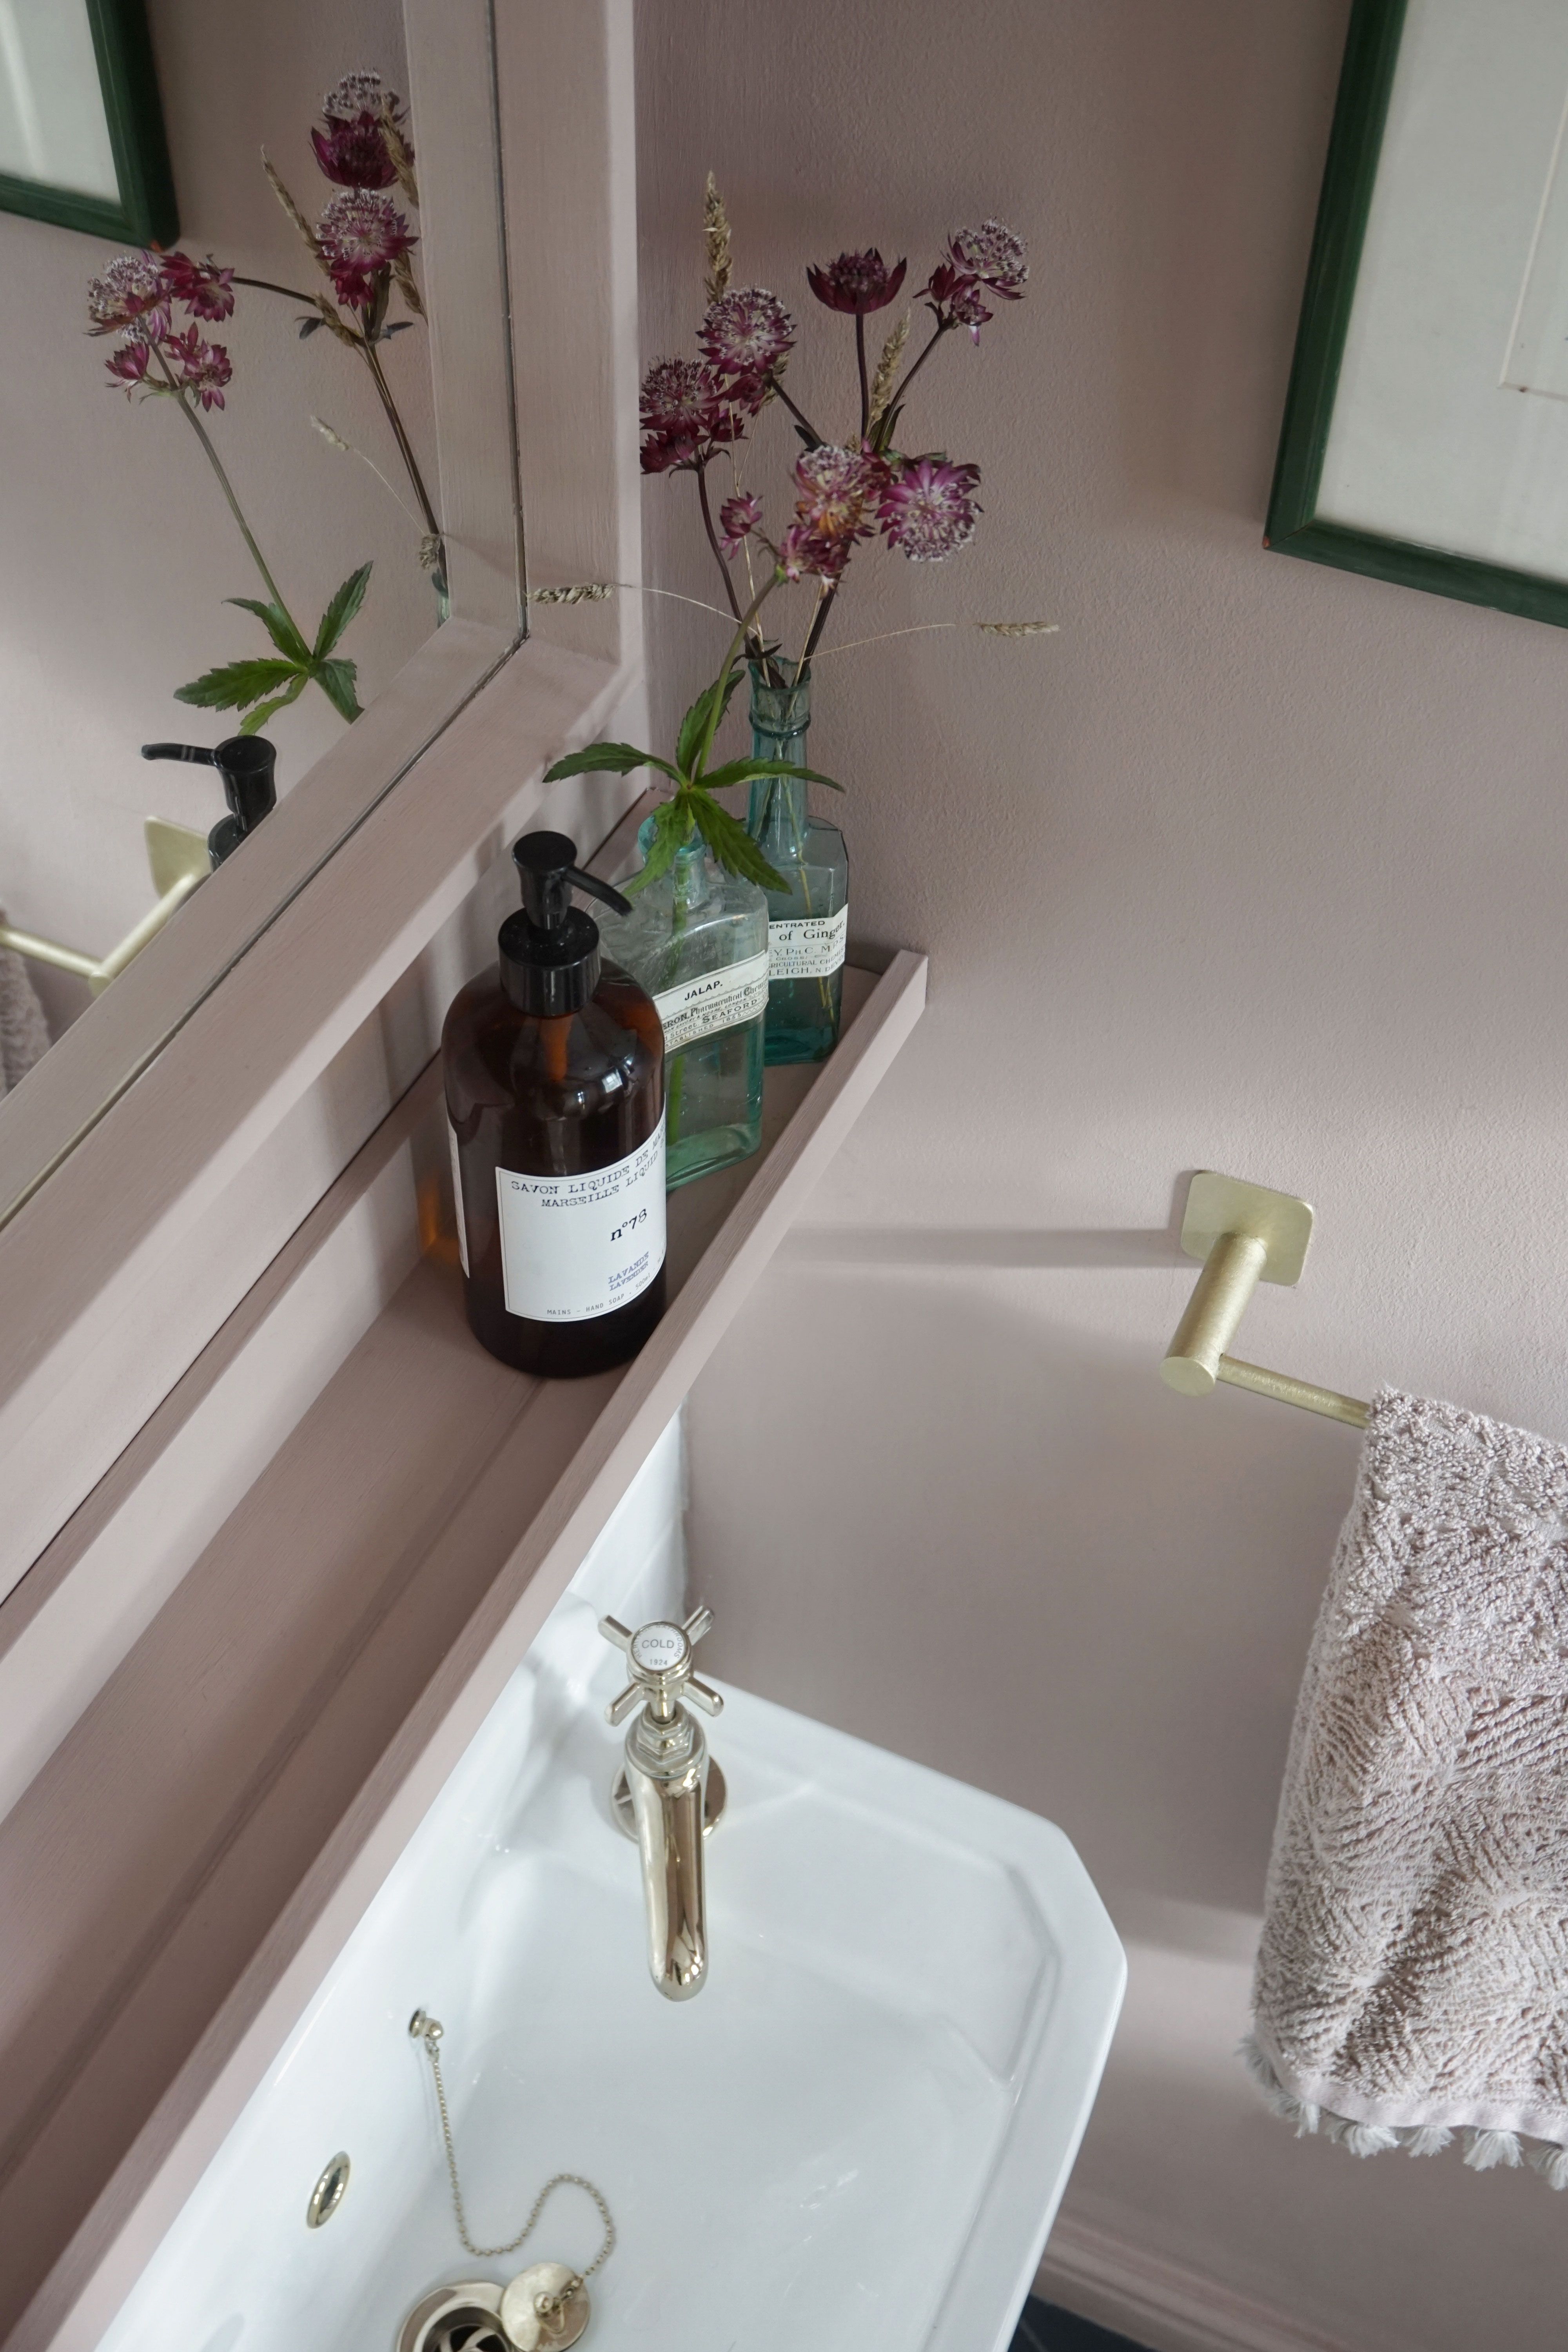
In terms of the design, I wanted a more traditional feel and fell in love with this cute little handwash sink, I liked that the taps sat on each side , a quirky little detail and it’s compact size was ideal for the cloakroom. Of course the taps had to be brass … this was non negotiable! With a small sink, we needed to incorporate some form of shelving for soap (candles and flowers!) A picture ledge from Ikea was ideal, not too deep and with a lipped edge for neatness. Fletch cut the shelf down to size and I sanded and painted it to match the wall colour.
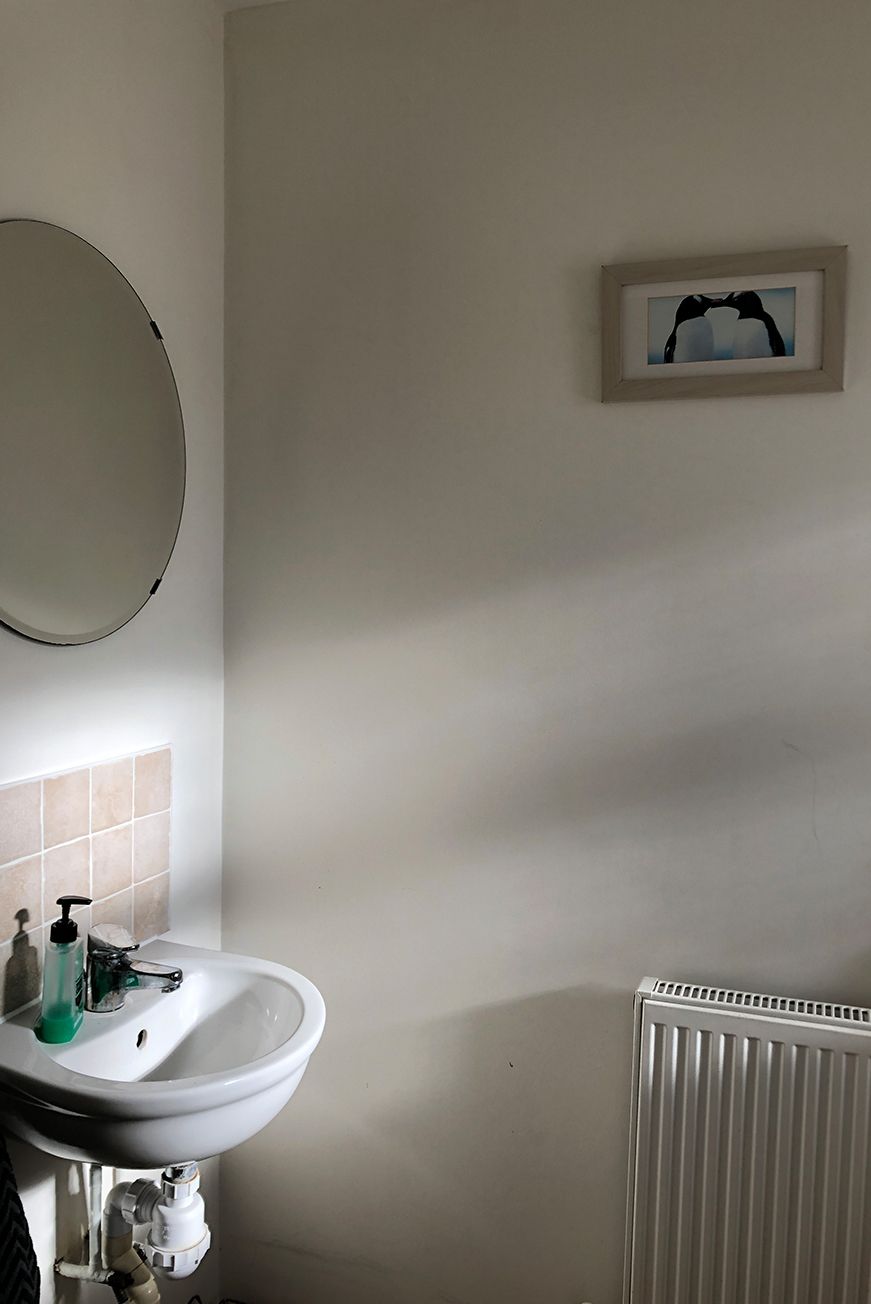
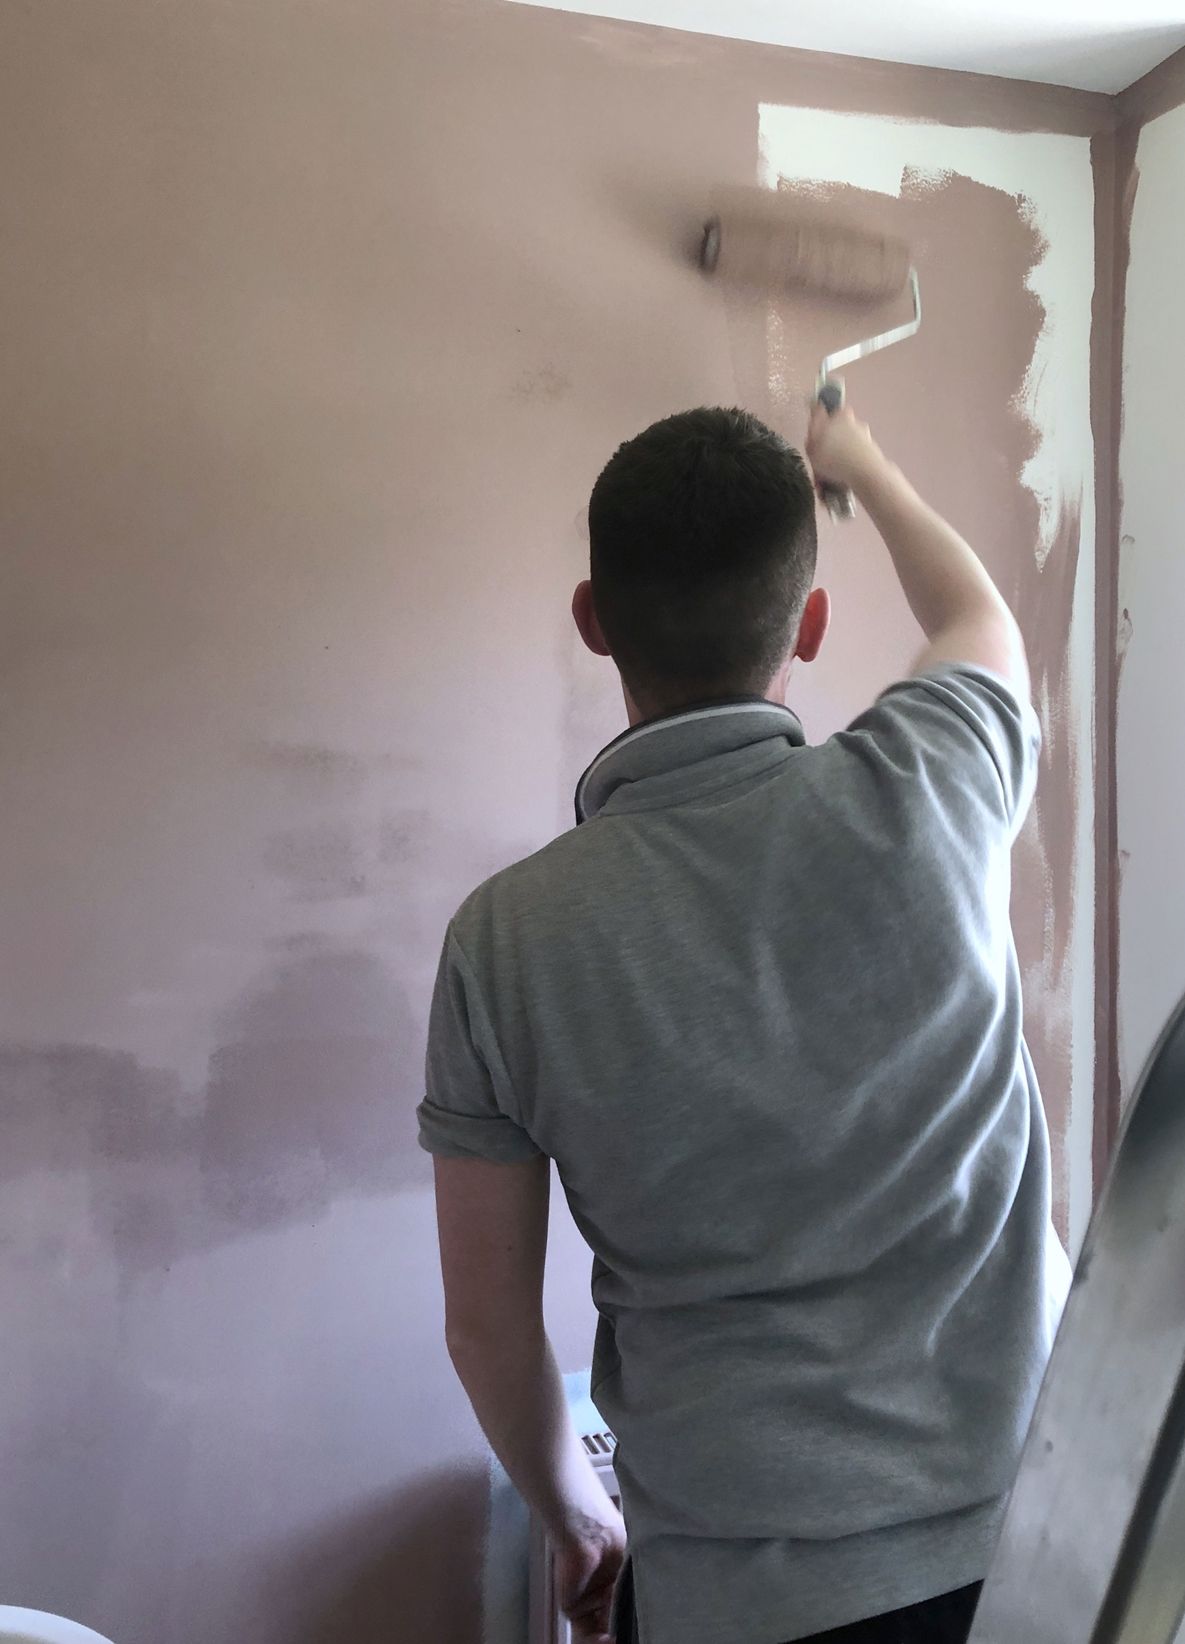
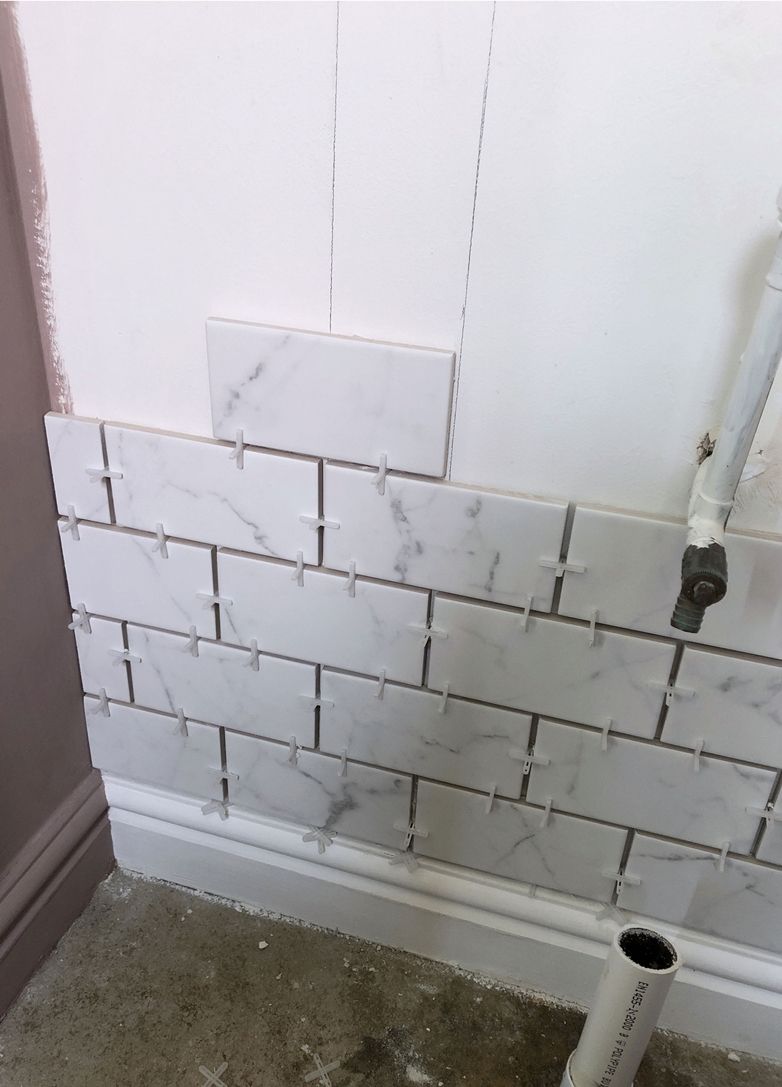
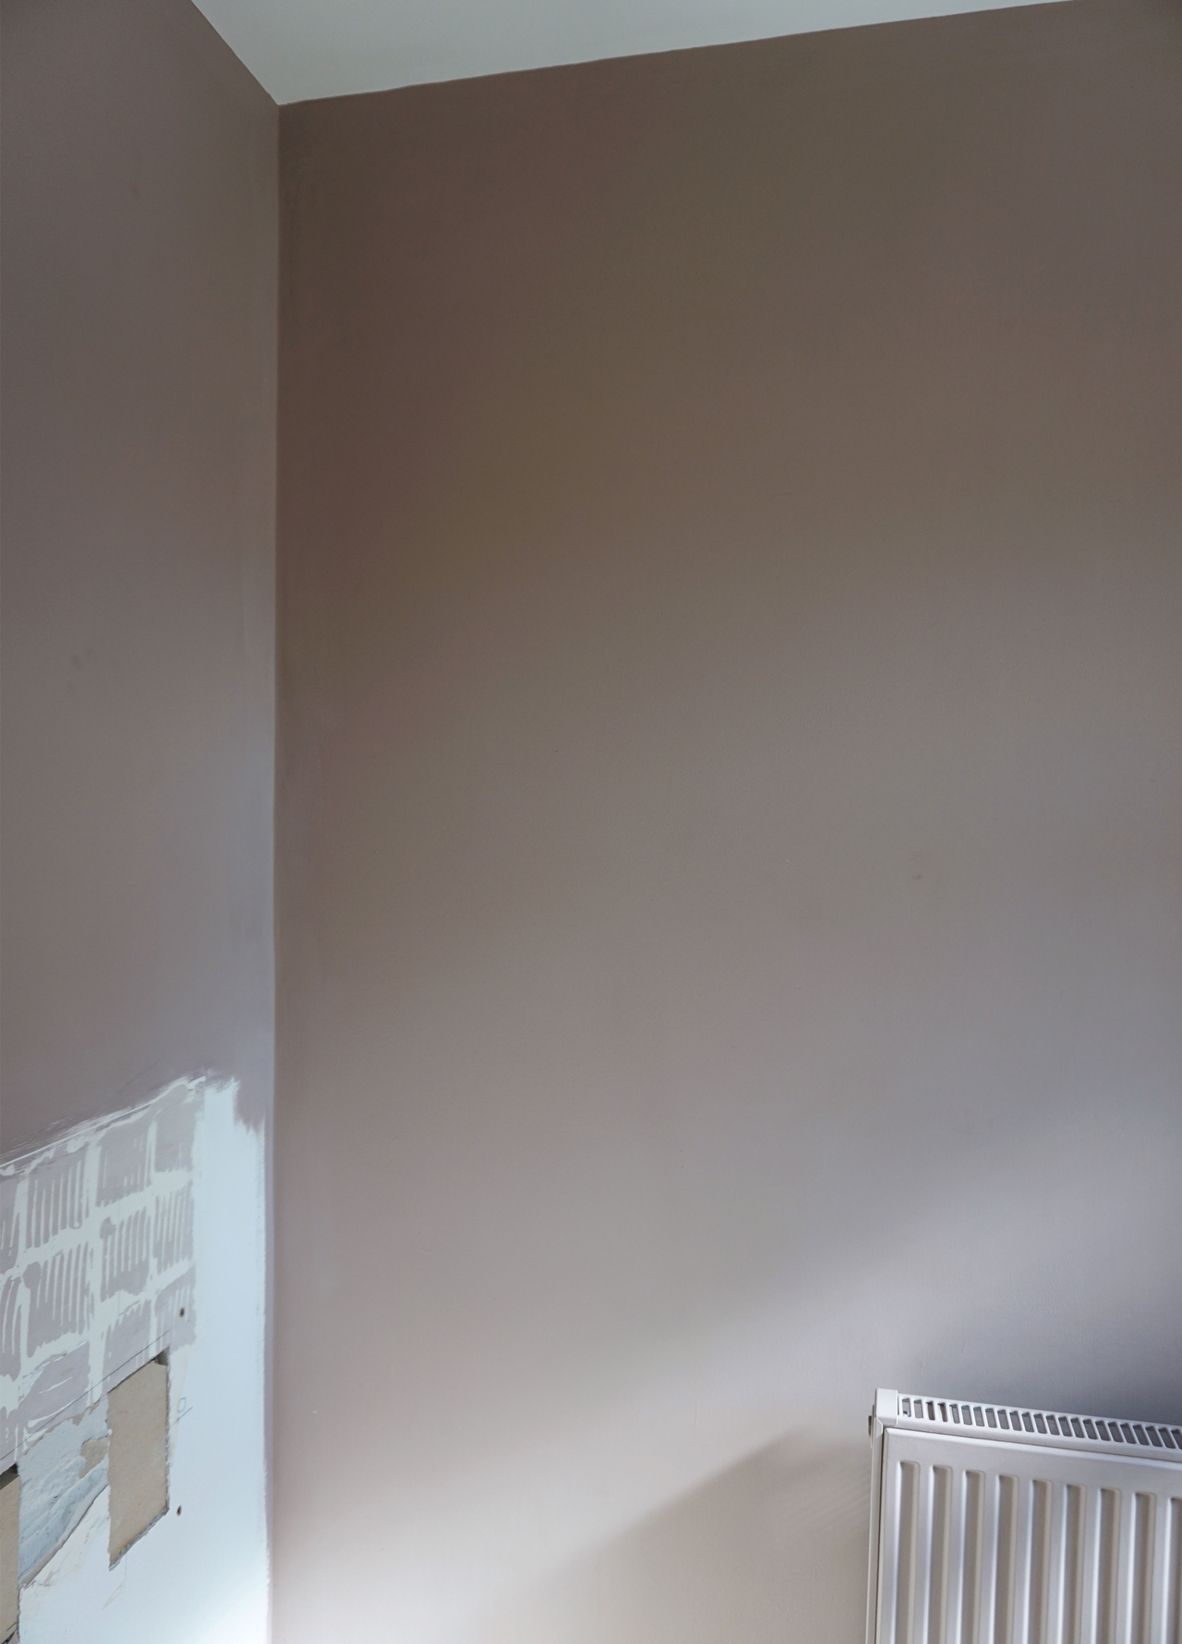
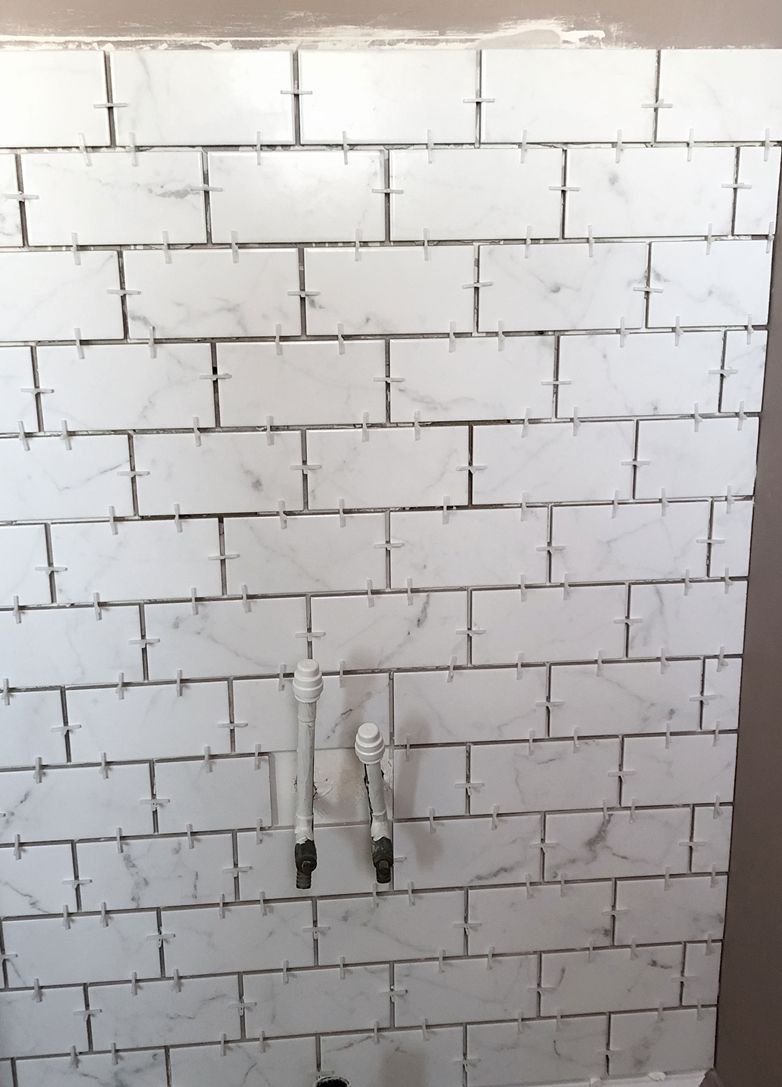
After taking out the existing sink and removing the tiles / lino we prepped and painted the walls (we also painted the skirting boards and radiator, I would love to replace the radiator at some point) We watched LOADS of ‘how to tile’ videos on you tube before giving the wall tiling a go. It was surprisingly straight forward, I drew some grid lines to ensure all the tiles were straight and in line and we used a manual tile cutter which was quick and easy.
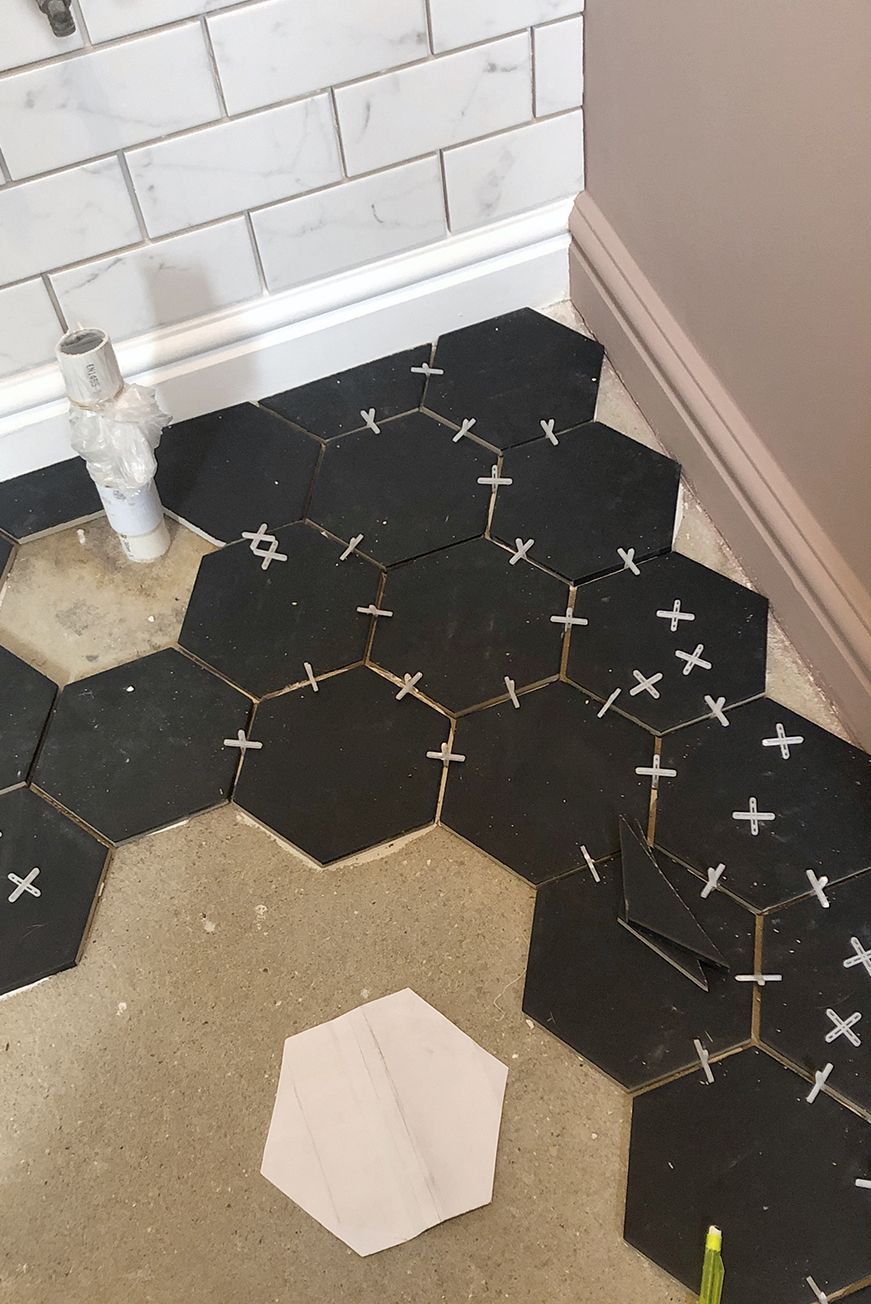
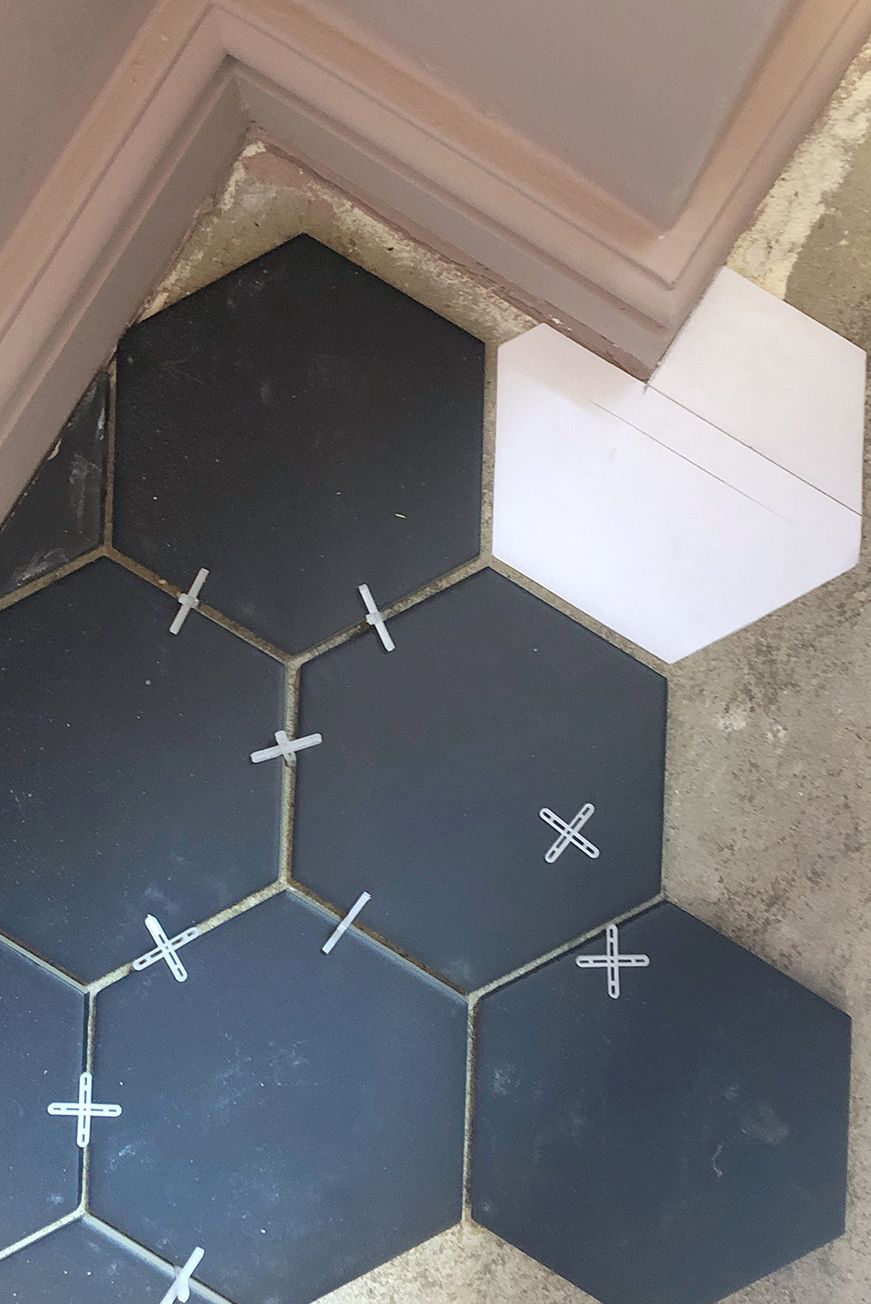
Brimming with confidence we started the floor tiles. Oh man. Hexagons. These were not easy ... Firstly the shape meant keeping them running straight was tricky, I lost count of how many we laid and then had to chisel back up because they weren’t quite in the right place. Secondly the cuts. Oh the cuts. *crying with the memory* I used a paper template to fold and work out what the cuts needed to be, then marked them on the tiles for Fletch to cut. (He used an electric wet cutter) We found it was better to take off little amounts at a time just to be on the safe side. Our walls weren’t straight so even with the paper template it was pot luck. With the smaller cuts, we found that it was better to file rather than risk the tile breaking. It took AGES but we did it! (never again though ok)

The grouting was straightforward enough … well once we had worked out the right consistency … we used a powder mix. We worked in small areas and had lots of buckets of water and sponges to hand for cleaning. Top tip – wear gloves!! I forgot and had stained hands and nails for agessssss.

With the walls painted and tiles laid, it was time to plumb in the new sink and taps. Having never done any plumbing before we called in reinforcements in the form of the in-laws. The existing plumbing was in a really bad condition so my father in law (with Fletch as his assistant) replaced everything and fitted the sink and taps for us.
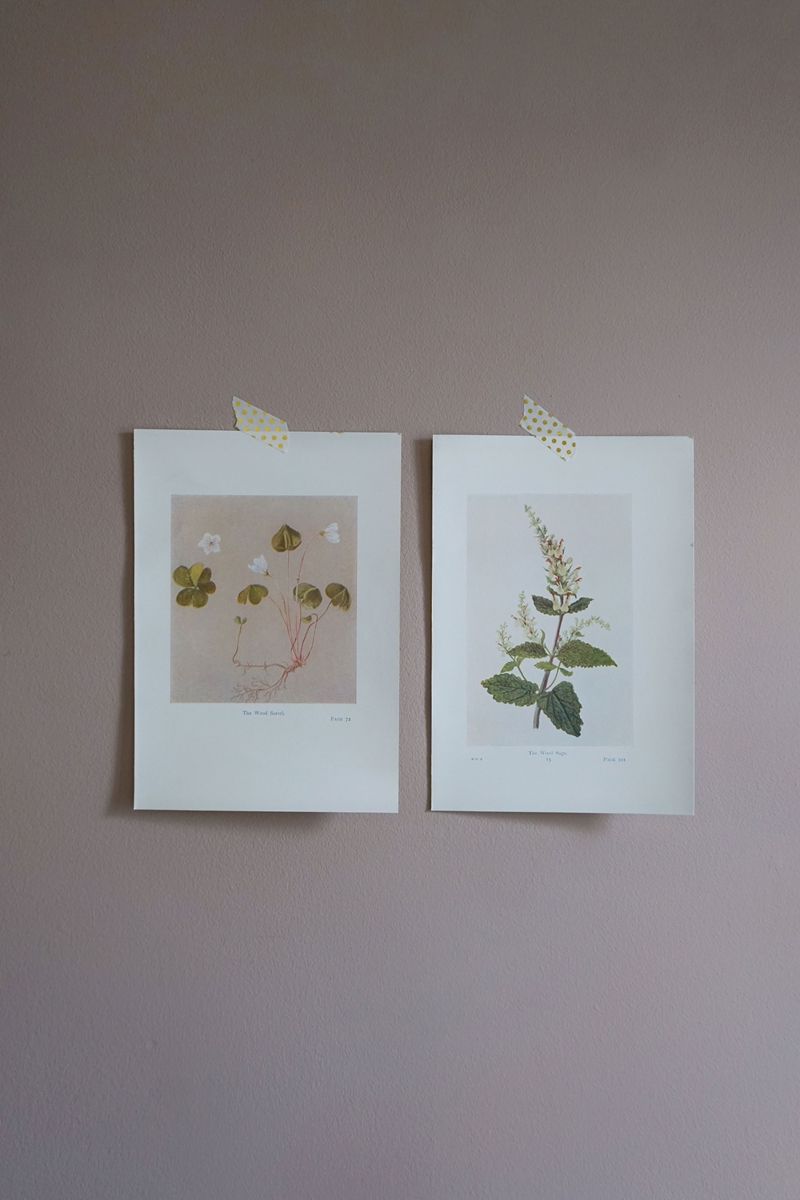
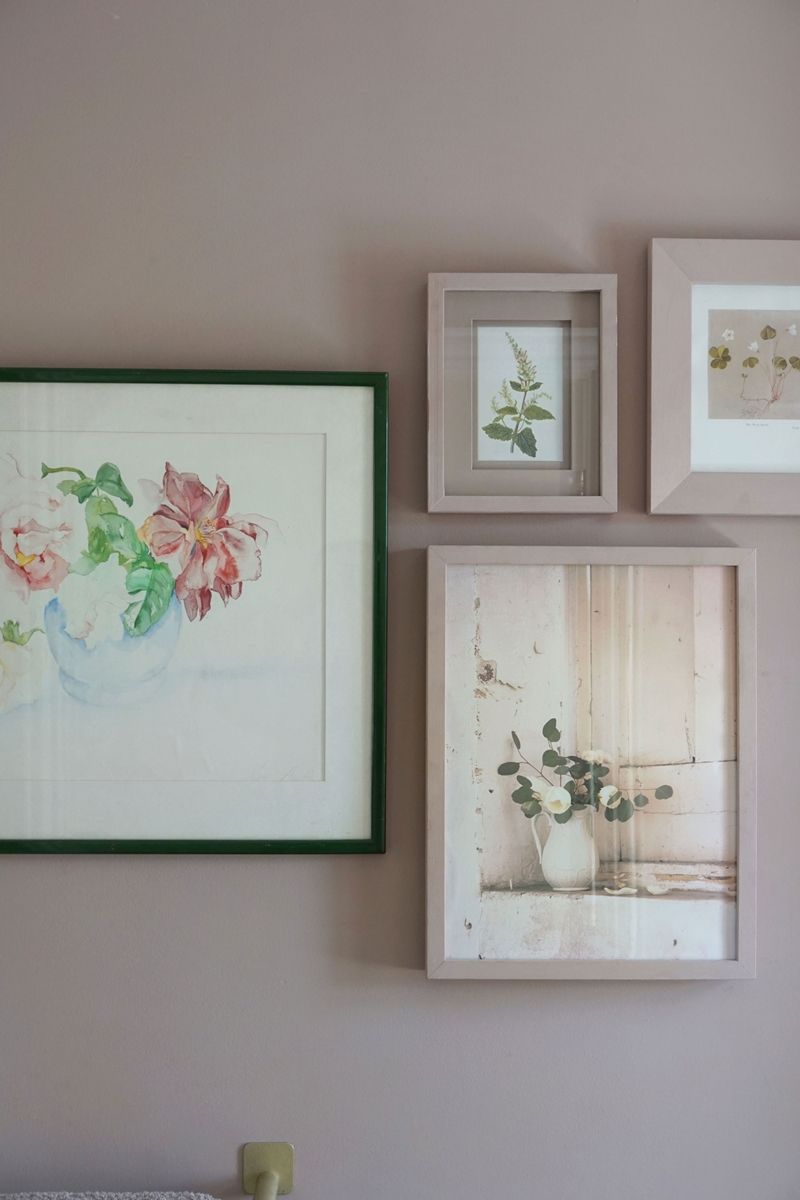
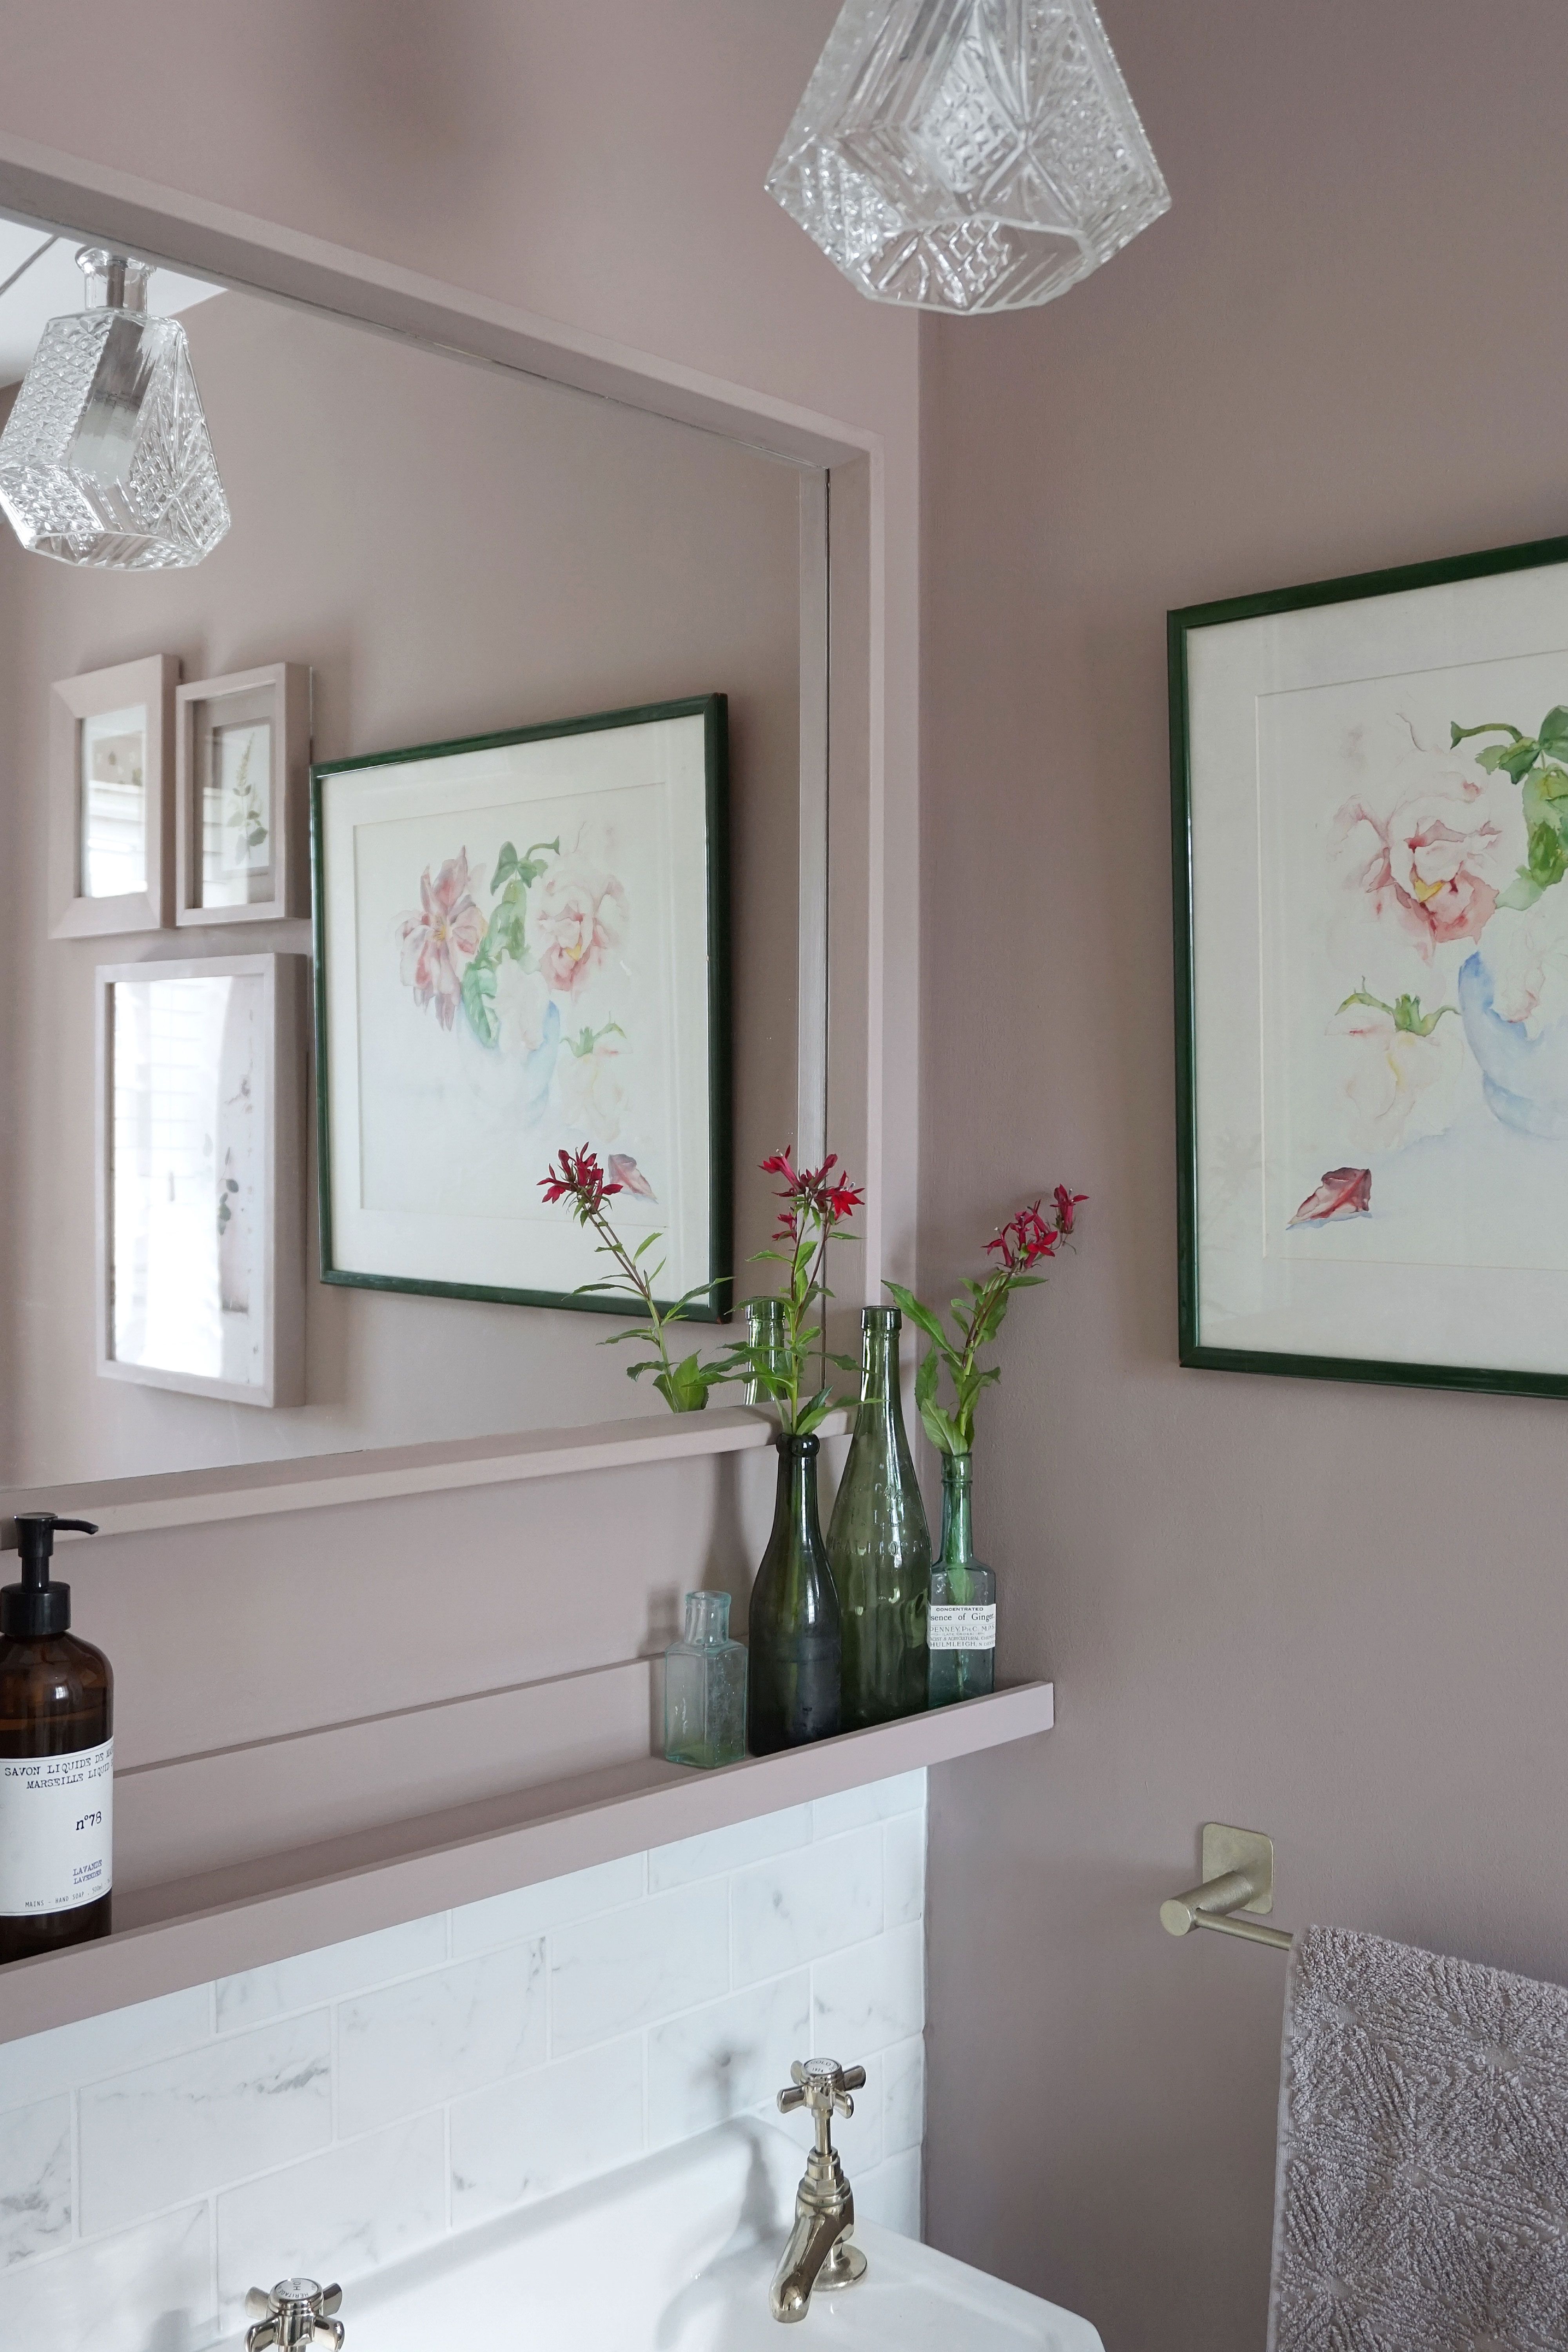
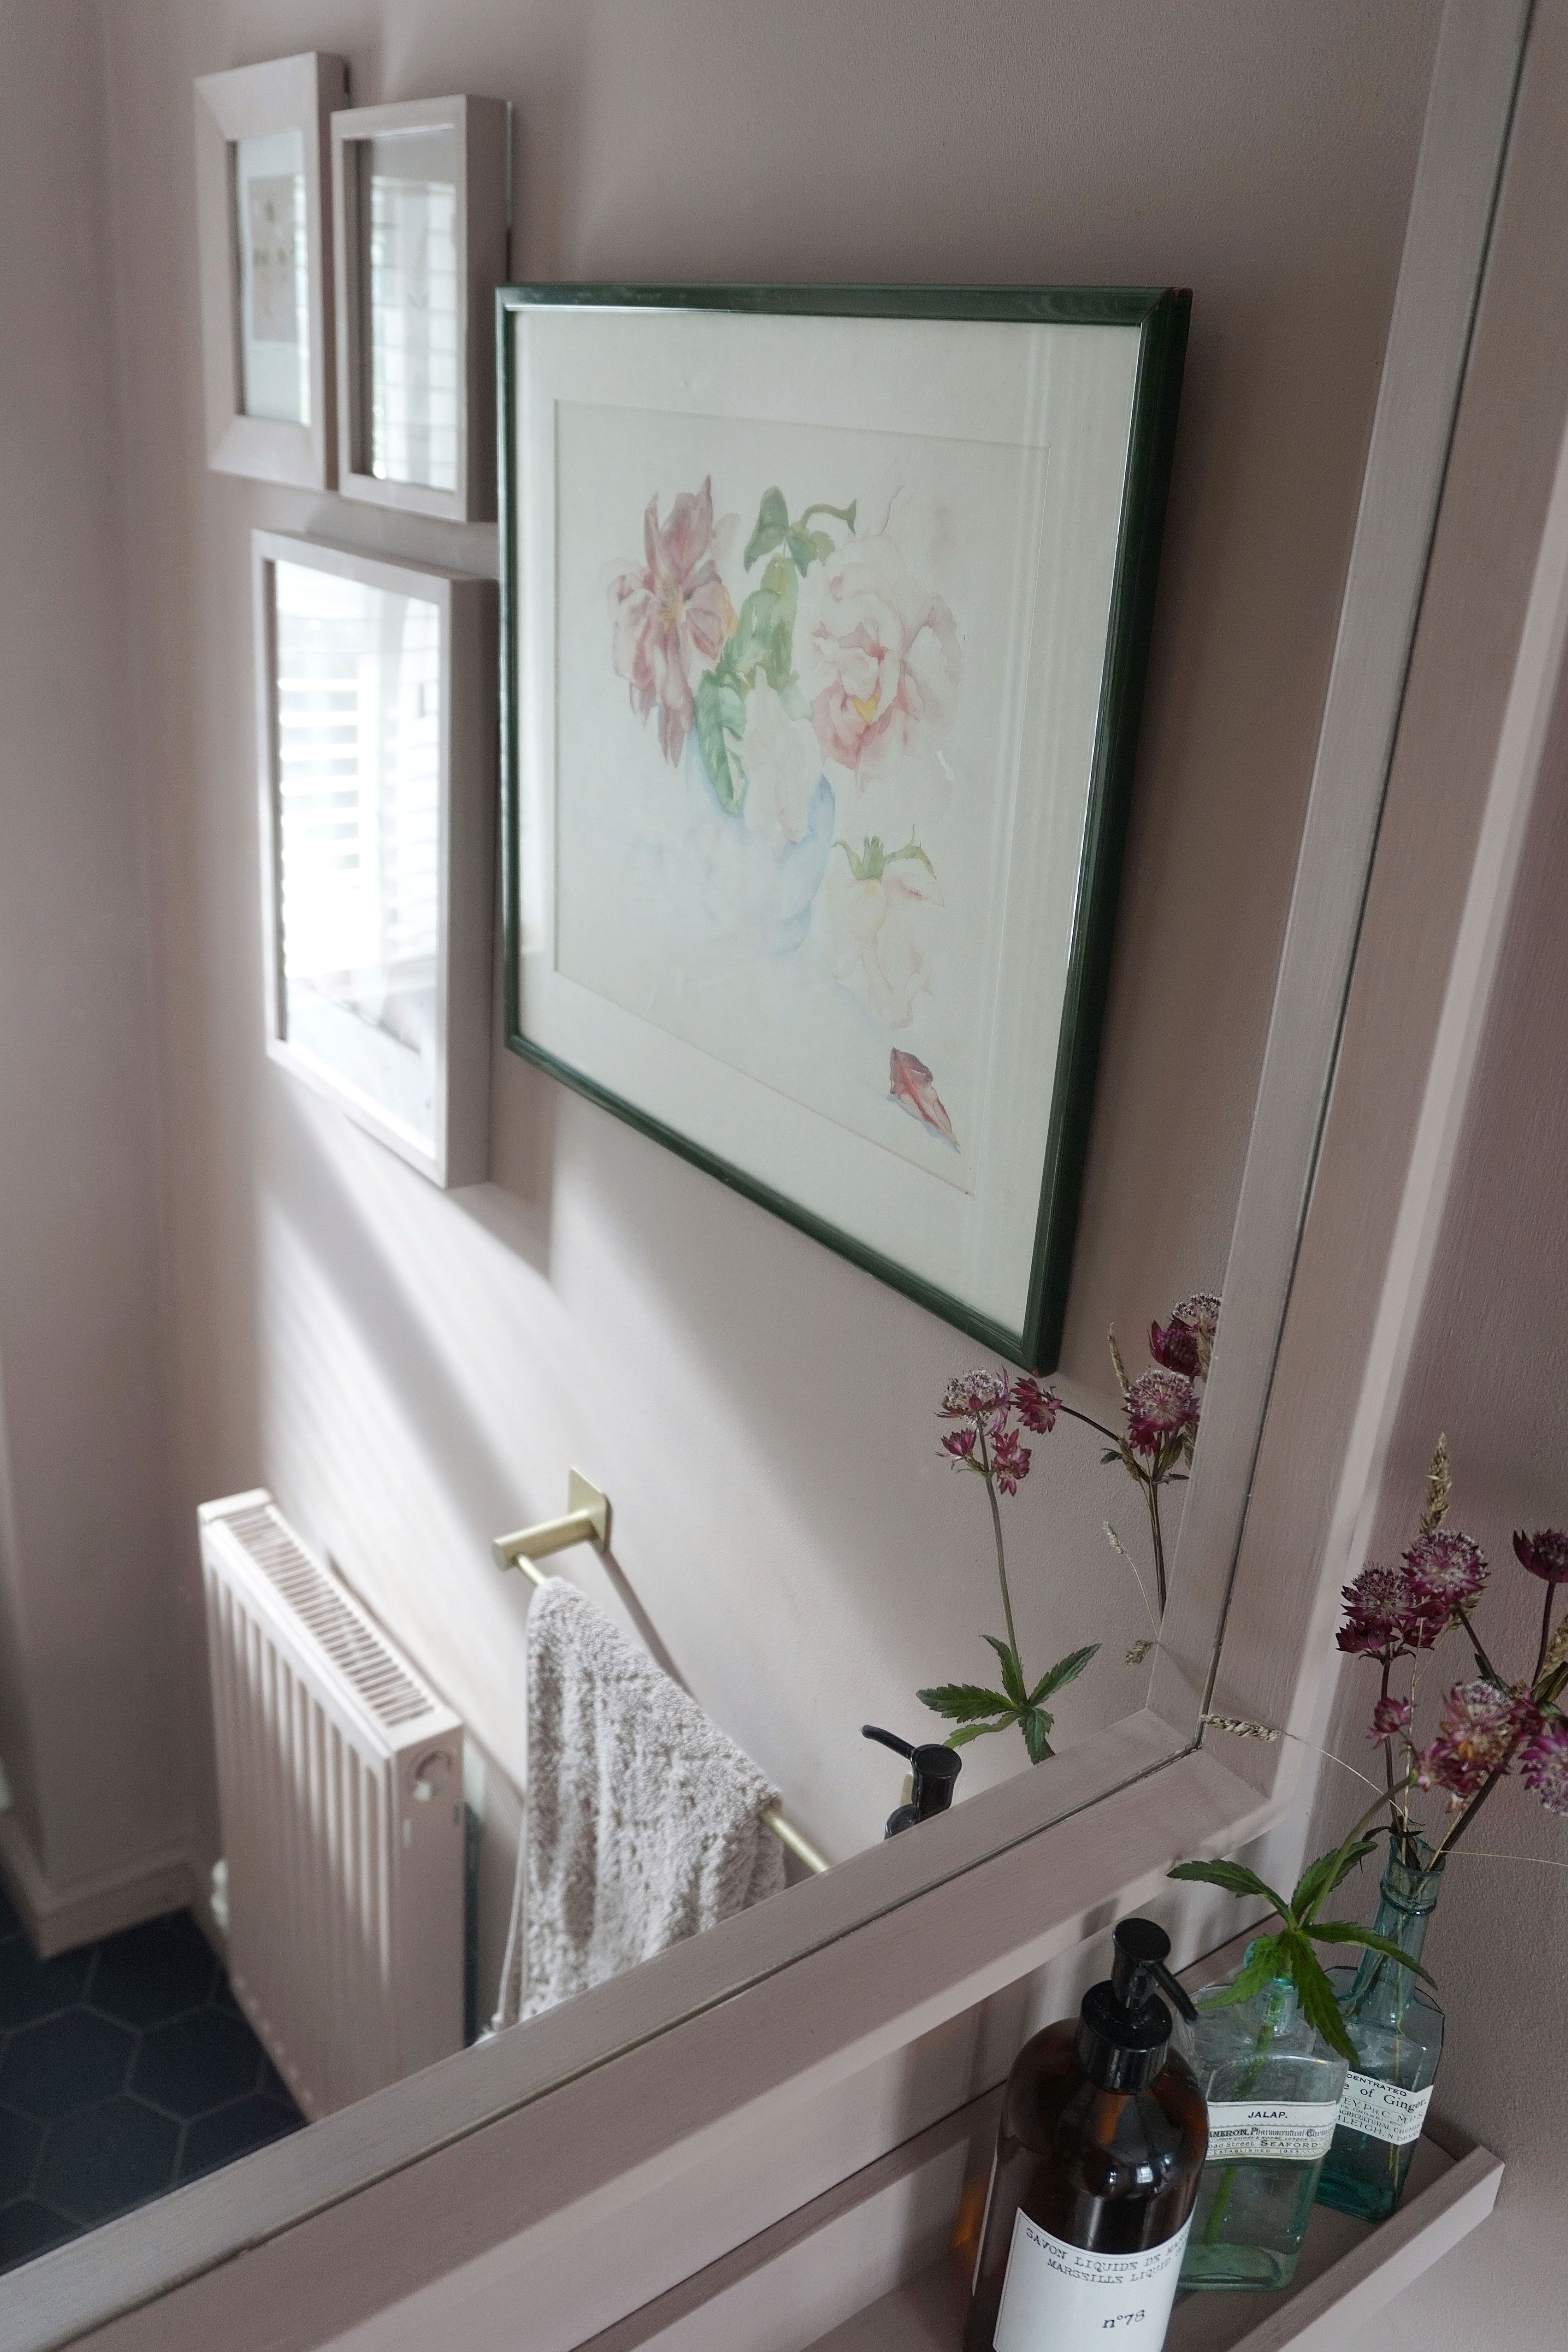
Lastly, it was on to the fun bit! The styling. Fletch put up the Ikea shelf which finished the tile edge off perfectly. We also bought a large square mirror from Ikea, I sanded and painted the frame to match the walls / shelf. I personally like to repeat colours as it stops there being too many focal points in a small room and allows the eye to focus on the main details. The shelf is perfect for my flower addiction … and the soap of course! The room is finished with a floral gallery wall and a pretty glass pendant light, kindly gifted to us by cult furniture.
The finished cloakroom ...
Product links and suppliers:
Sink and Taps from Victorian Plumbing.
Wall Tiles and Floor Tiles from Tiles Direct.
Paint from Farrow and Ball.
Pendant light from Cult Furniture (gifted, similar light linked.)
Shelf and Mirror (painted) from Ikea.