Christmas Decorations | How much Eucalyptus?!
I love decorating at Christmas with foliage. It’s lovely to bring the outside in and often all the foliage can be found in the garden. (Yes to free decorations!) My favourite is Eucalyptus as it smells amazing. Now if you follow me on Instagram you’ll know that I asked my Step-Mum and Dad if I could pinch a little Eucalyptus from the tree in their garden. Of course they said no problem and Dad got to work cutting a little bit off for me. It’s fair to say he got a little bit carried away!
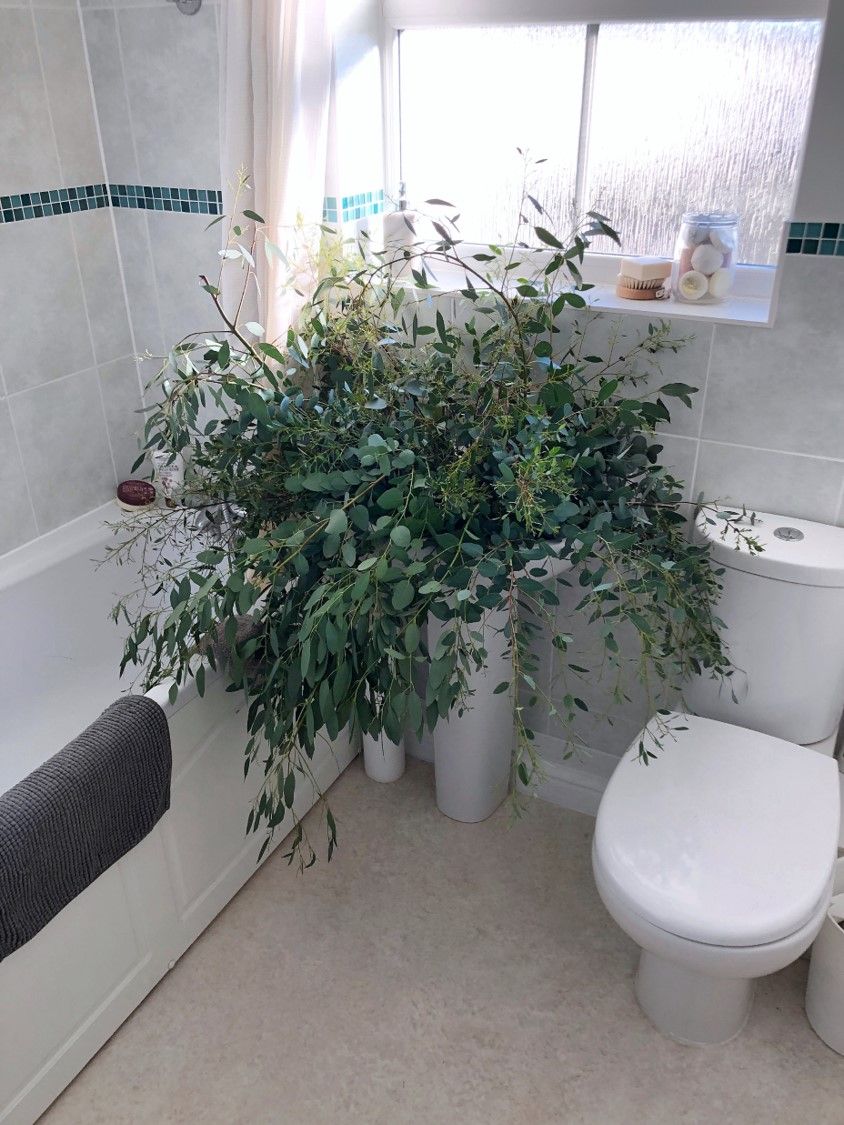
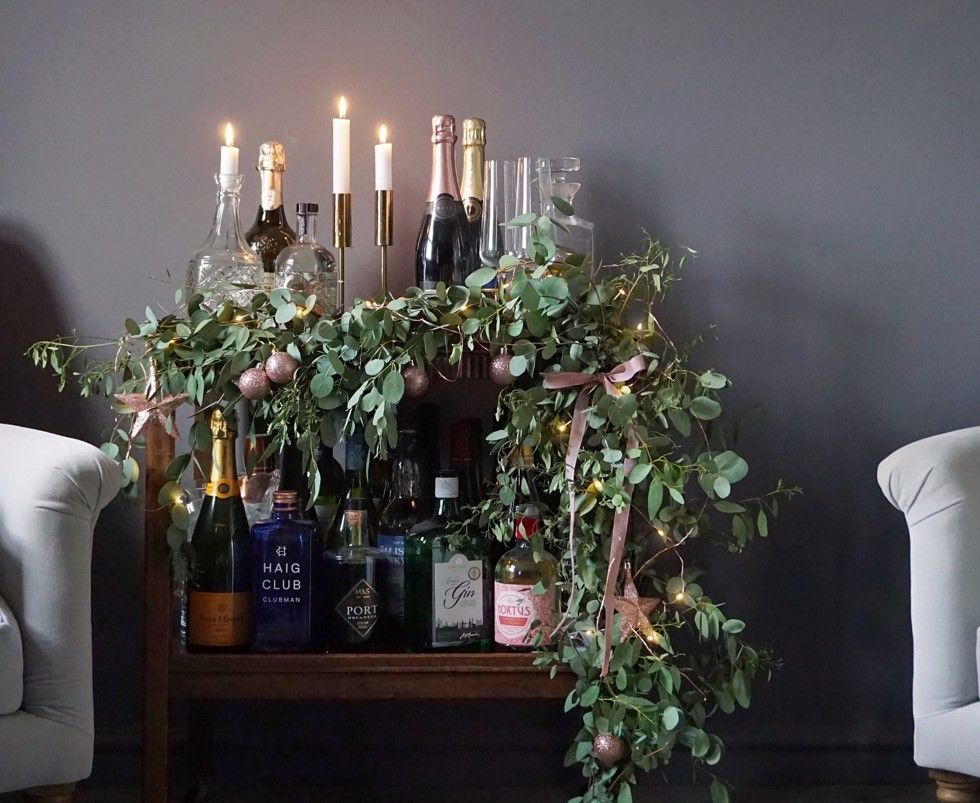
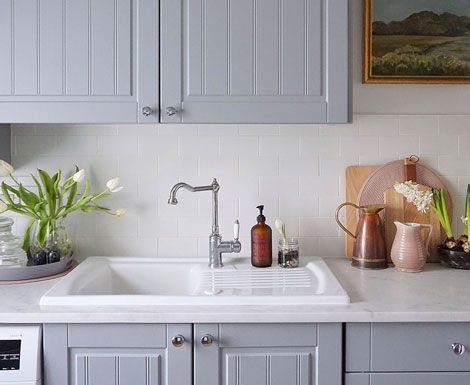
It lived in the sink for a few days while I tried to decide what on earth to do with it. The husband refused to install a fireplace so a mantle garland wasn’t an option and our hallway is awful so no point decorating the stairs. I won a large front door wreath in an Instagram competition so no need to make one of those. Which left only one thing – the drinks trolley.
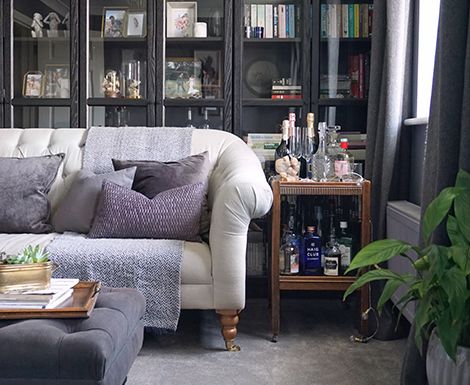
Now I had absolutely no idea on the correct way to decorate a drinks trolley with Eucalyptus … I simply gave it a go and hoped for the best! The Eucalyptus was fresh and I have been misting it but it will dry out after a few days. I’m sure there is a method for drying Eucalyptus but I just let it do its own thing - I like using it fresh and have found from making wreaths in the past, that it will slowly dry to the shape formed. It will feel a little crispy to the touch but I think its all part of the charm and in my opinion, it still looks lovely. If you prefer you could use faux.
Drinks Trolley Christmas Garland Video
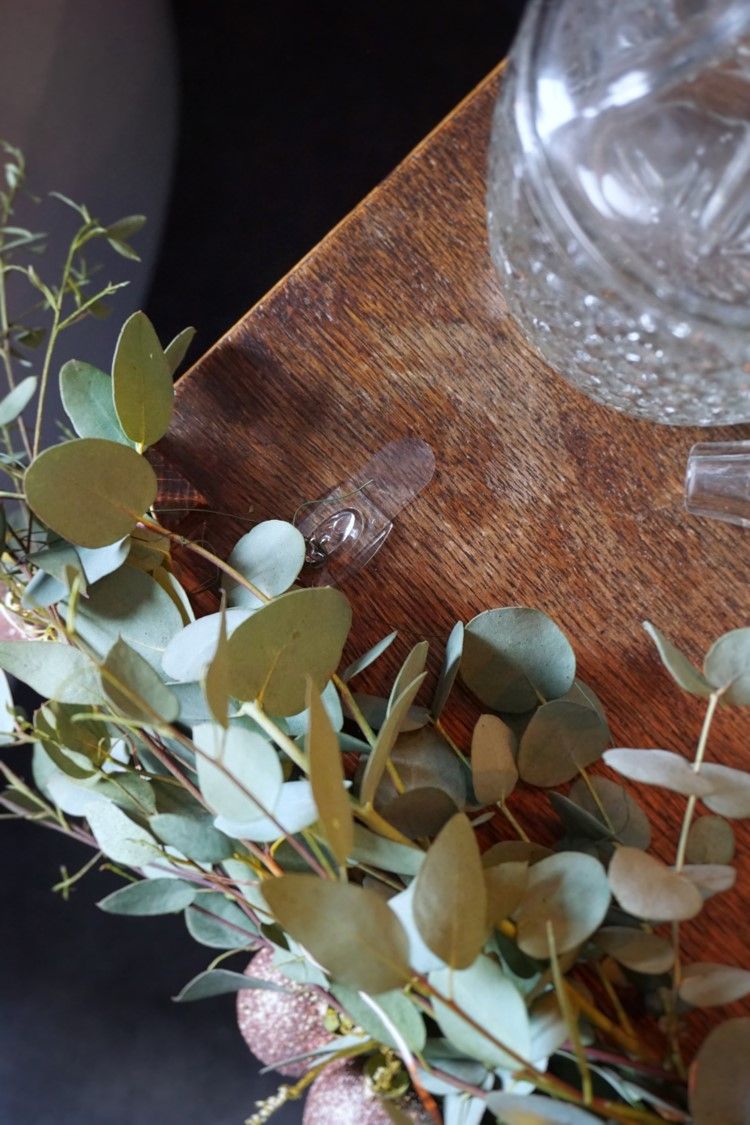
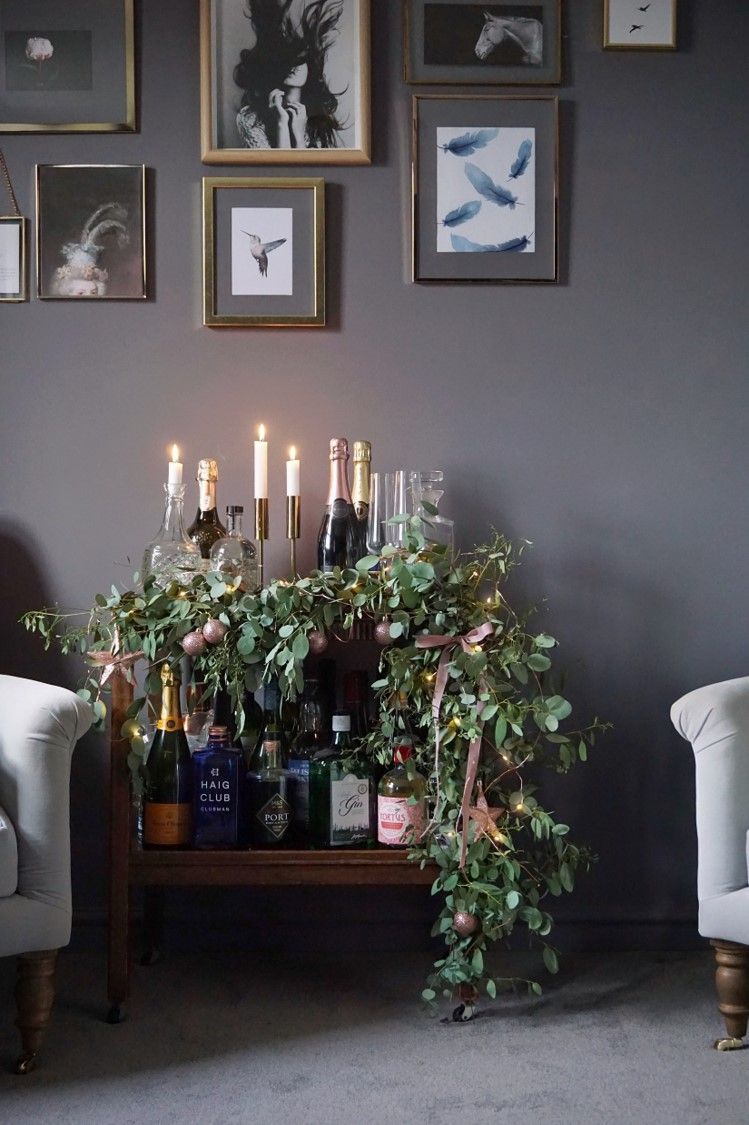
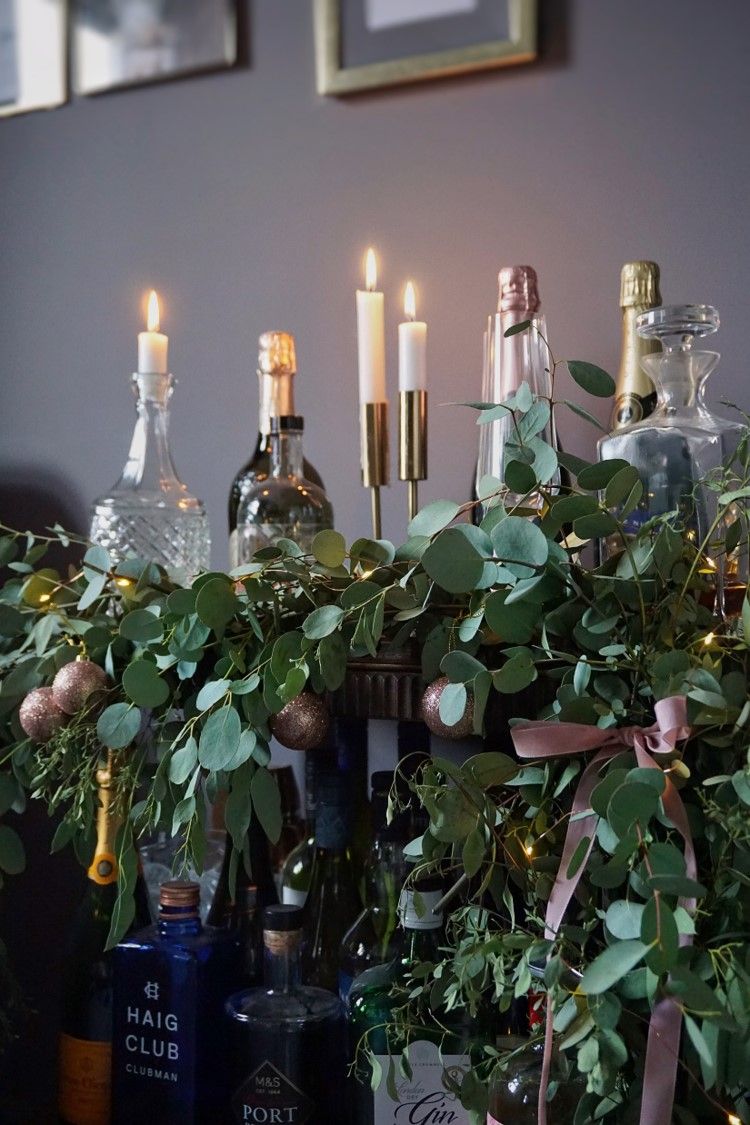
So the method, chuck it on and cross your fingers! Seriously wish I was joking! I selected a few larger pieces of Eucalyptus to act as the base. I secured them to the table using floristry wire. For the leg of the table, I used the wire to loop round the leg and foliage, then twisted the wire ends together to secure it into place. For the top of the drinks trolley I attached some command hooks to give me something to attach the wire to - this allowed me to wind the wire round the hook, loop it round the Eucalyptus and then return and wind it around the hook again. Make sense?
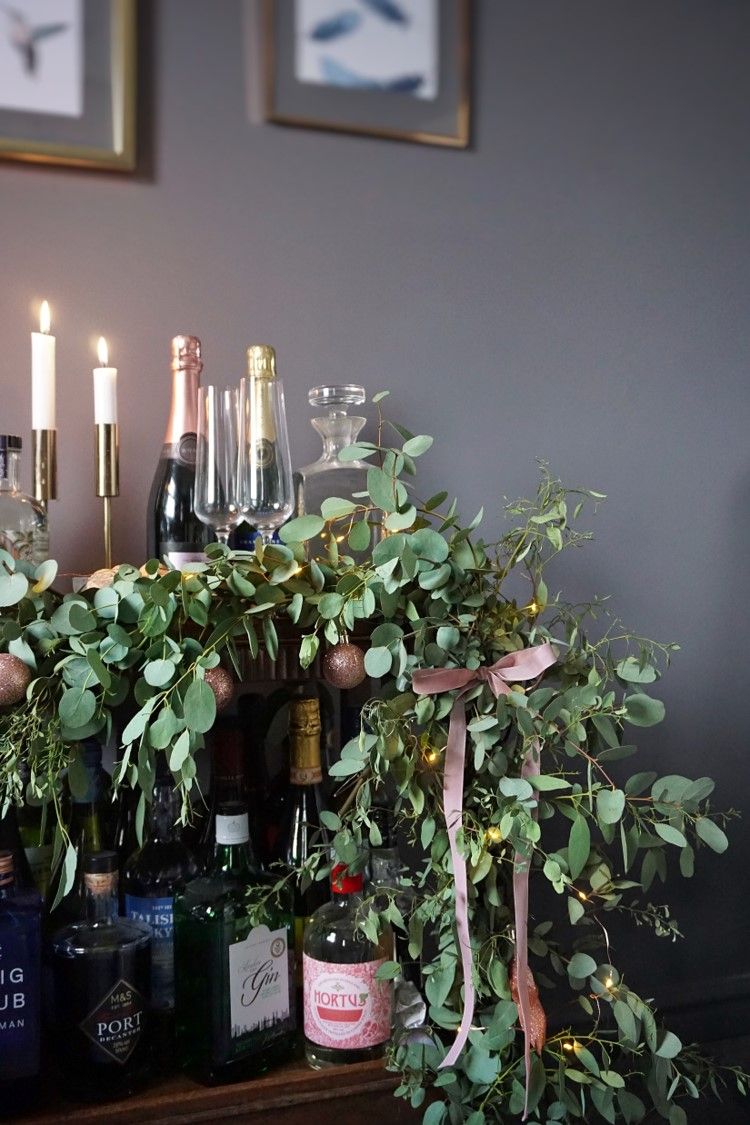
Once you have the larger pieces attached … make sure these are nice and secure … add more foliage and build up as much or as little as preferred, simply use the wire to attach each piece in place. It was easy to do and I kept it loose as I prefer a more natural look. For the finishing touches, I added some velvet ribbon (pink of course) and some glittery baubles for a touch of sparkle. Again use some wire to add in the baubles. Lastly add LOADS of warm white lights, I use battery powered wire lights as the wire makes them nice and easy to attach into place.
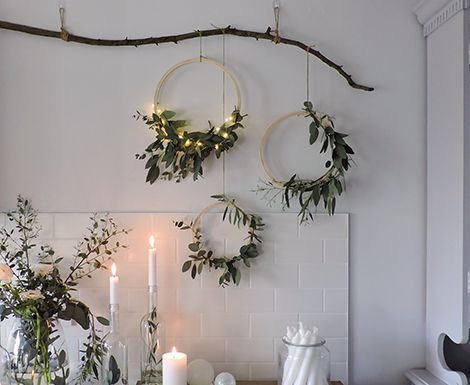
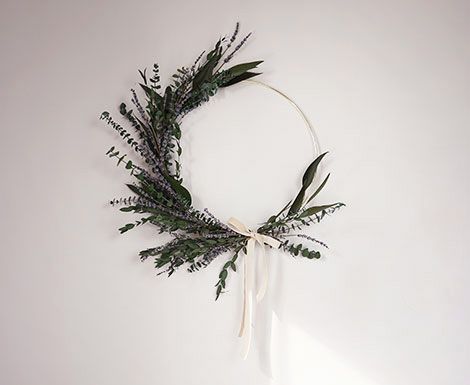
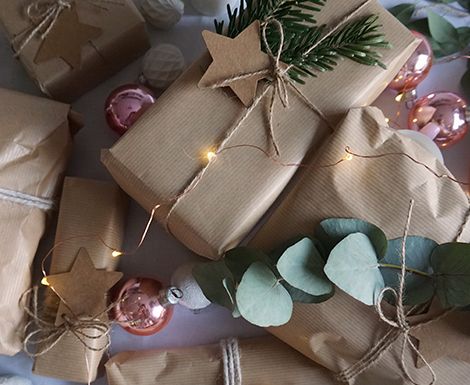
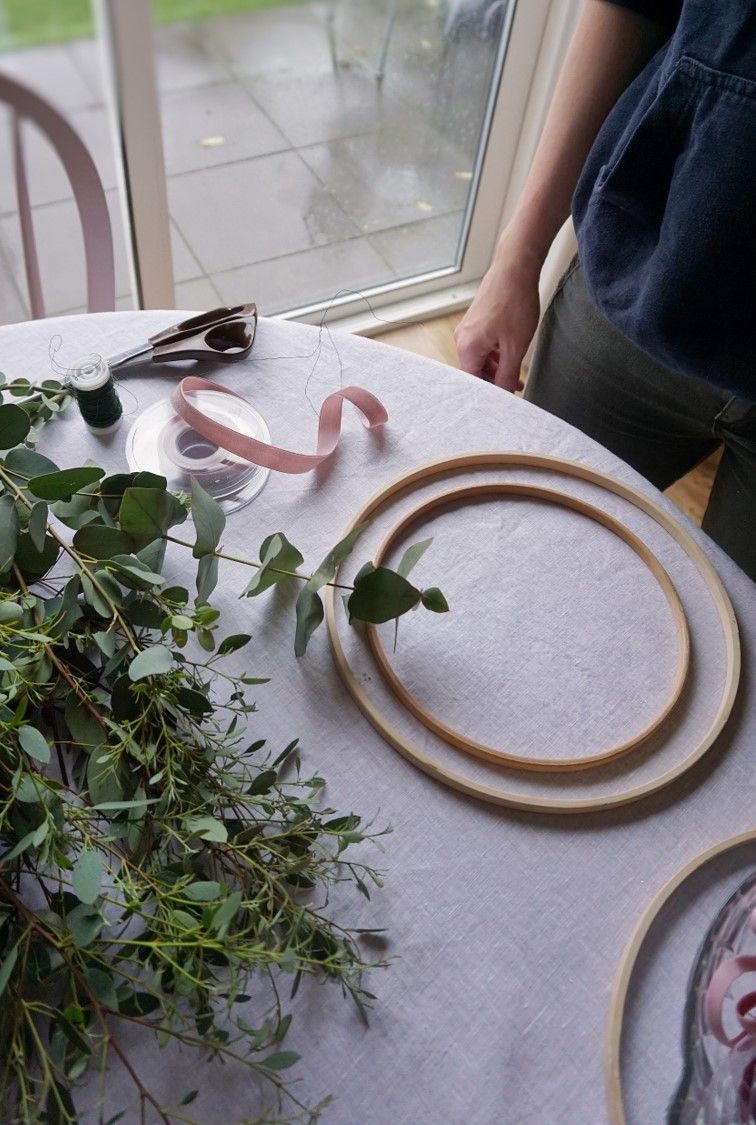
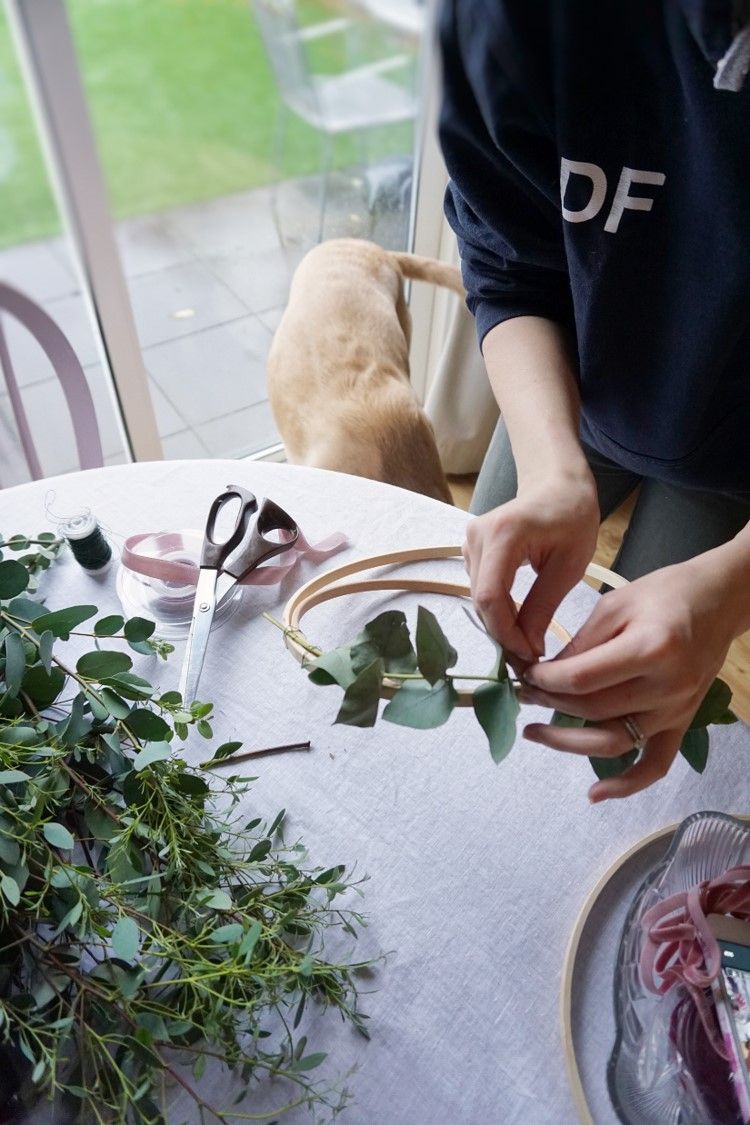
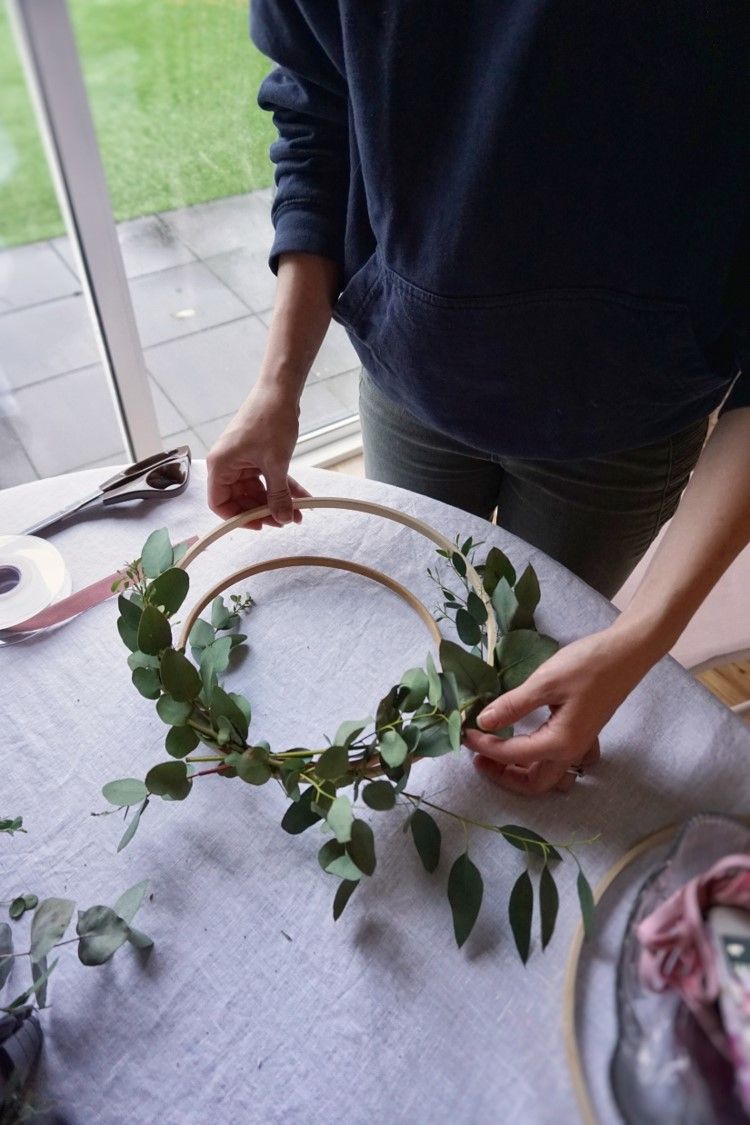
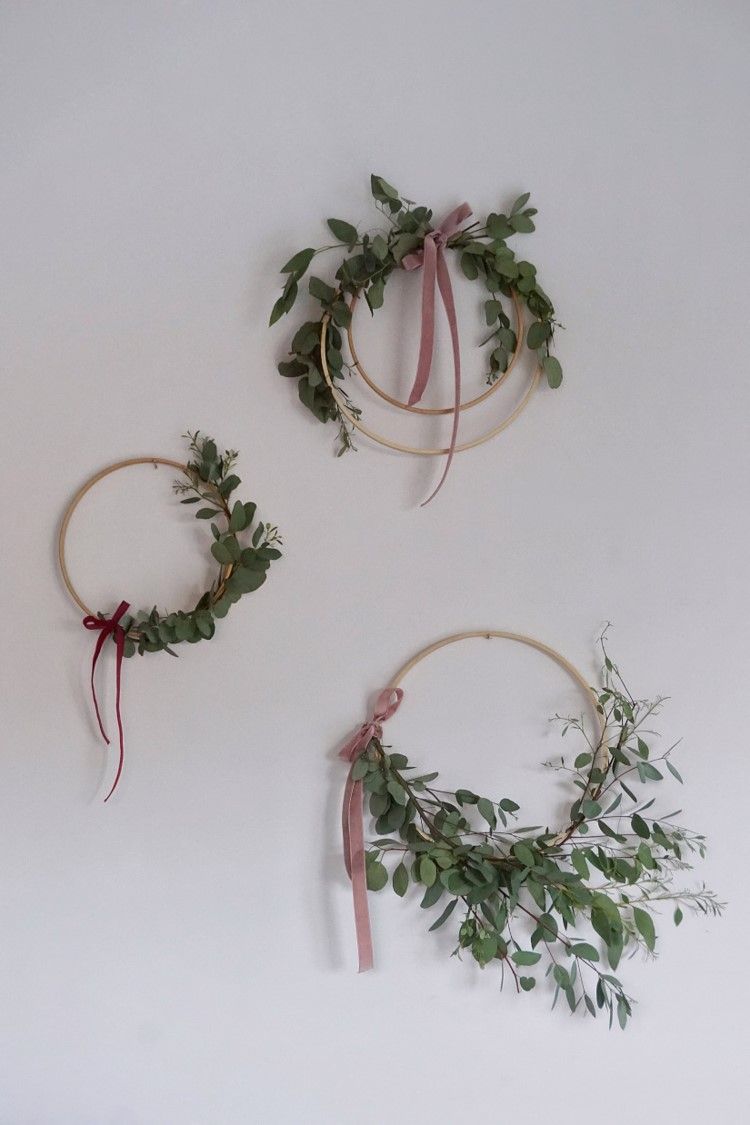
Well, that used about half a sink worth of Eucalyptus! Next on the list was a set of mini wreaths. I used embroidery hoops to create mine but you can use metal ones. Simply lay the foliage on top of the hoop and once you’re happy with the arrangement, use floristry wire to attach it into place. There really isn’t much else to add! It’s that simple! I like to tie on some ribbon as a finishing touch. For now, I’ve taken down some artwork and have hung them from the panel pins but I've made them for our living room so, eventually, I’ll pop them up properly using some command hooks and clear wire.

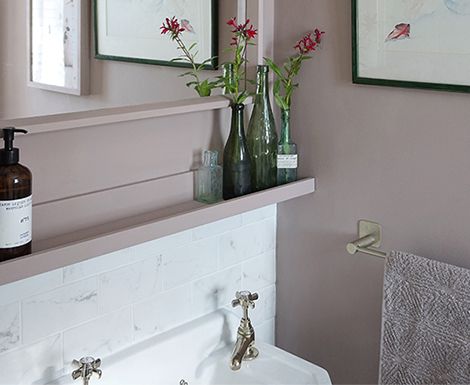
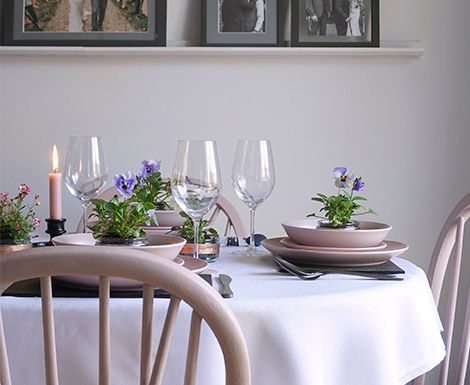
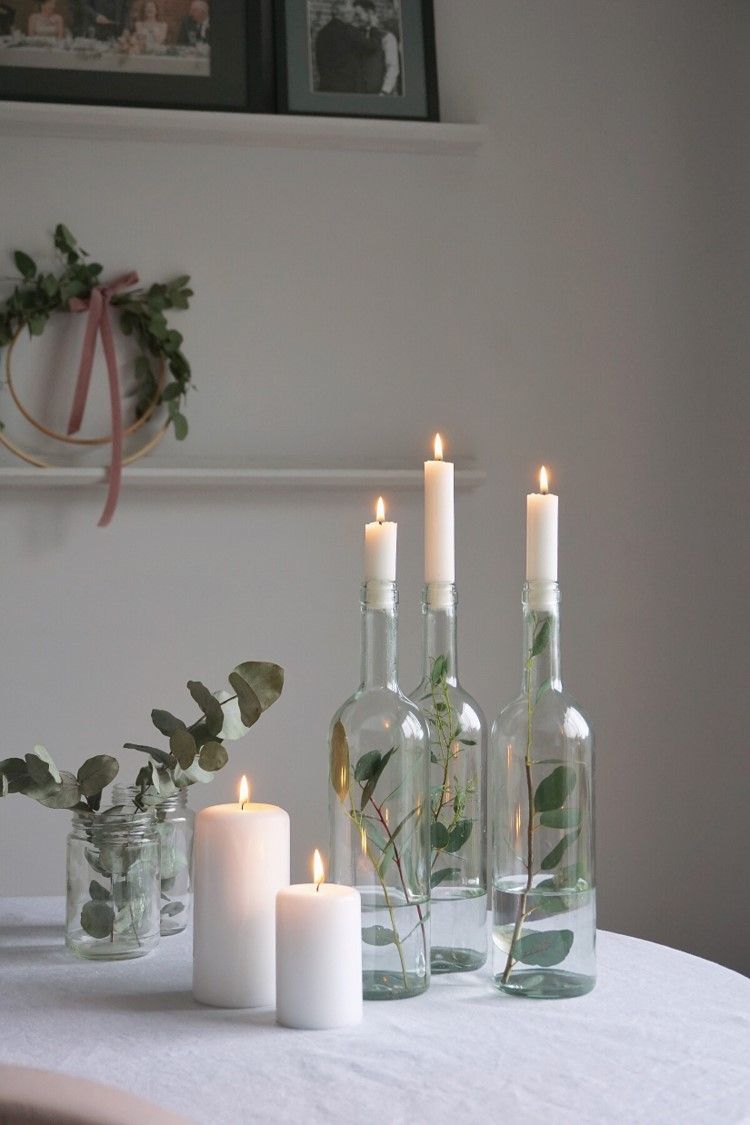
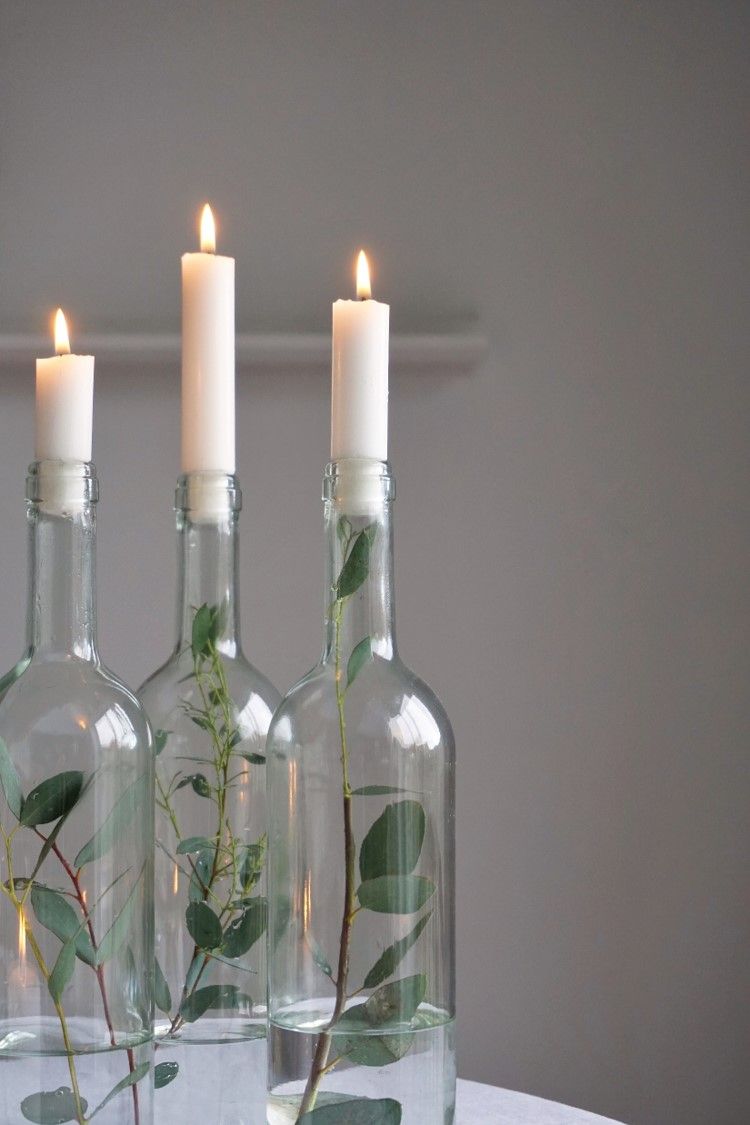
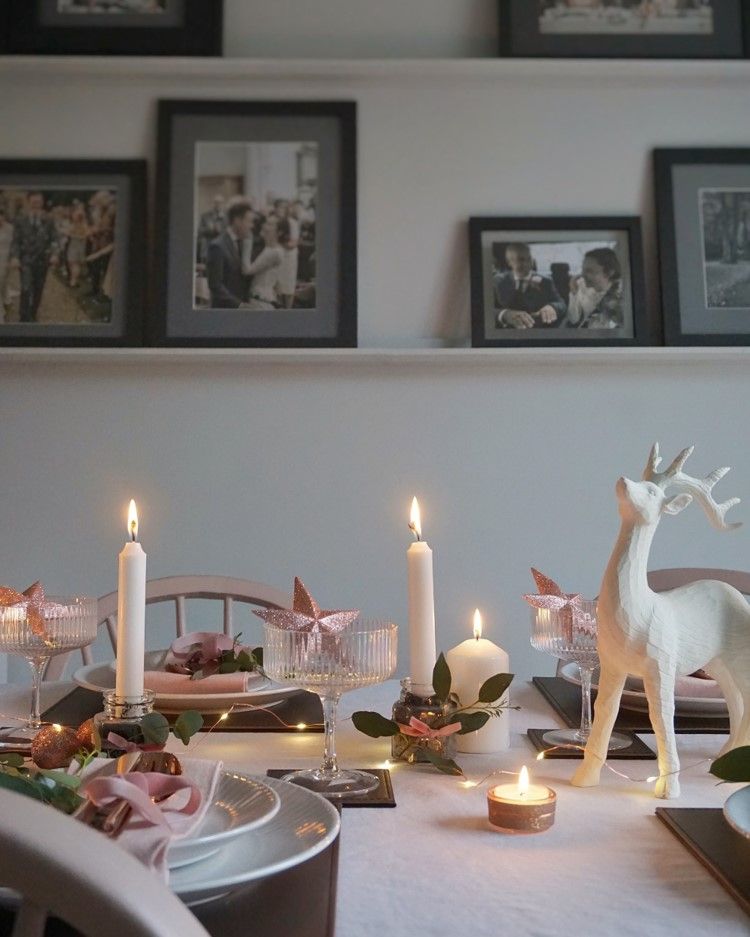
Would it even be Christmas if the house wasn’t full of candles?! I’ve added a little festive touch to mine … well I had some spare eucalyptus. These bottles are from Wilko but you could use some that you already have at home; just give them a good clean, pop in some water and slide in a sprig of foliage. Finish with a white dinner candle. (I had to shave the base of the candles which gave a nice snug fit.)
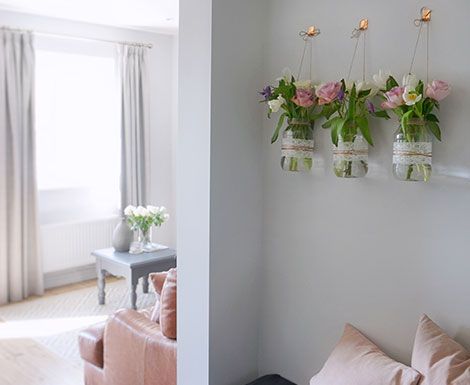
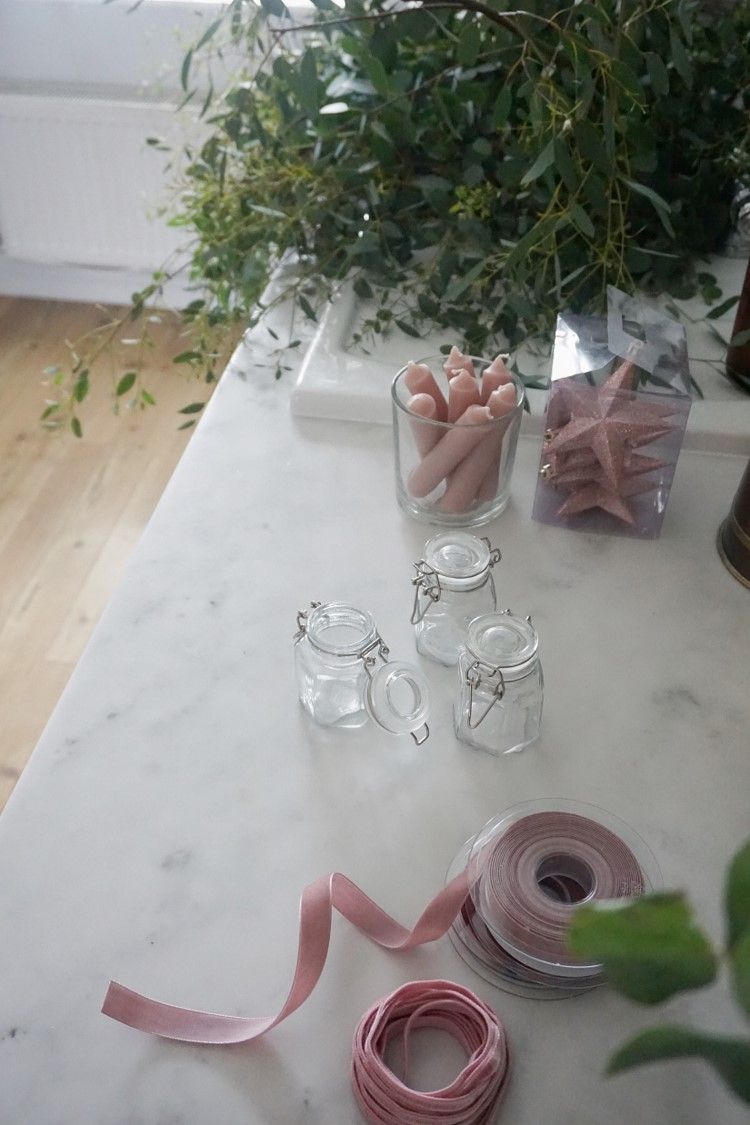
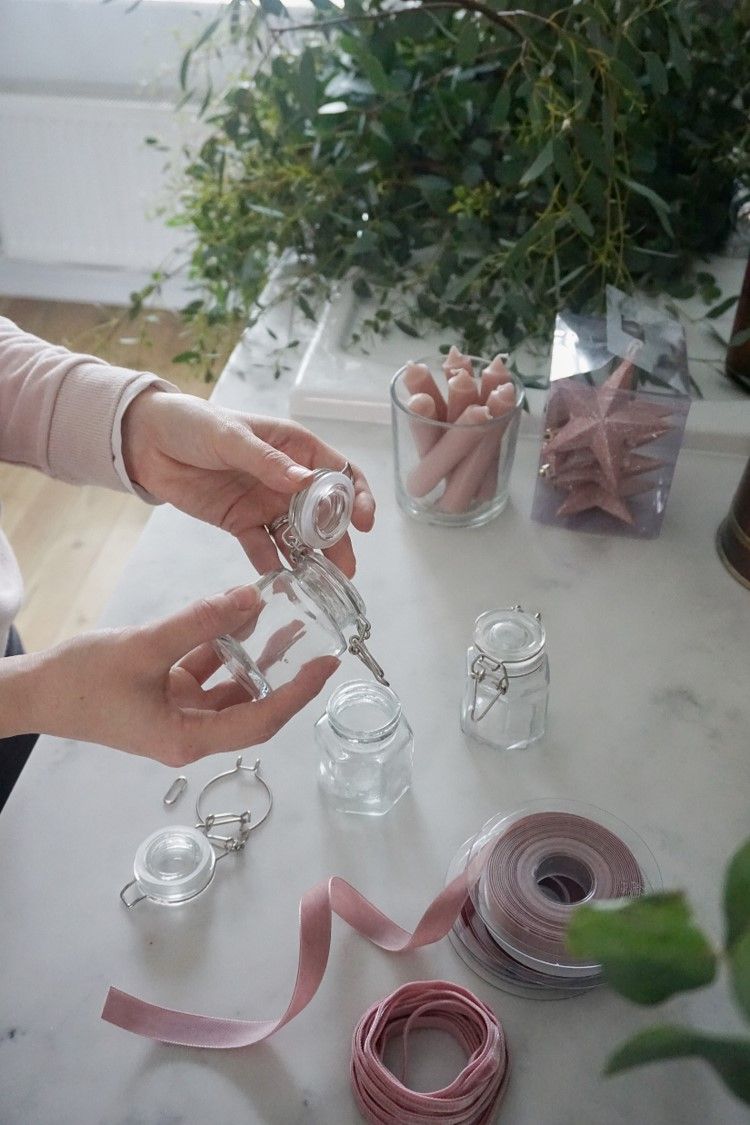
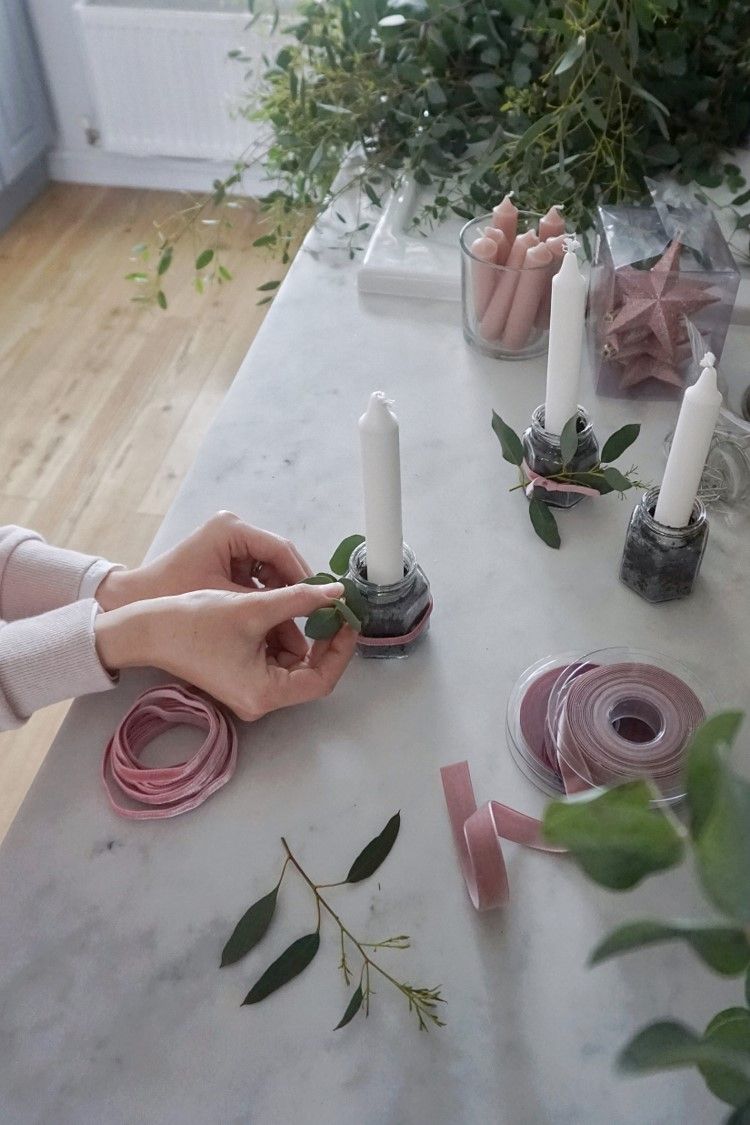
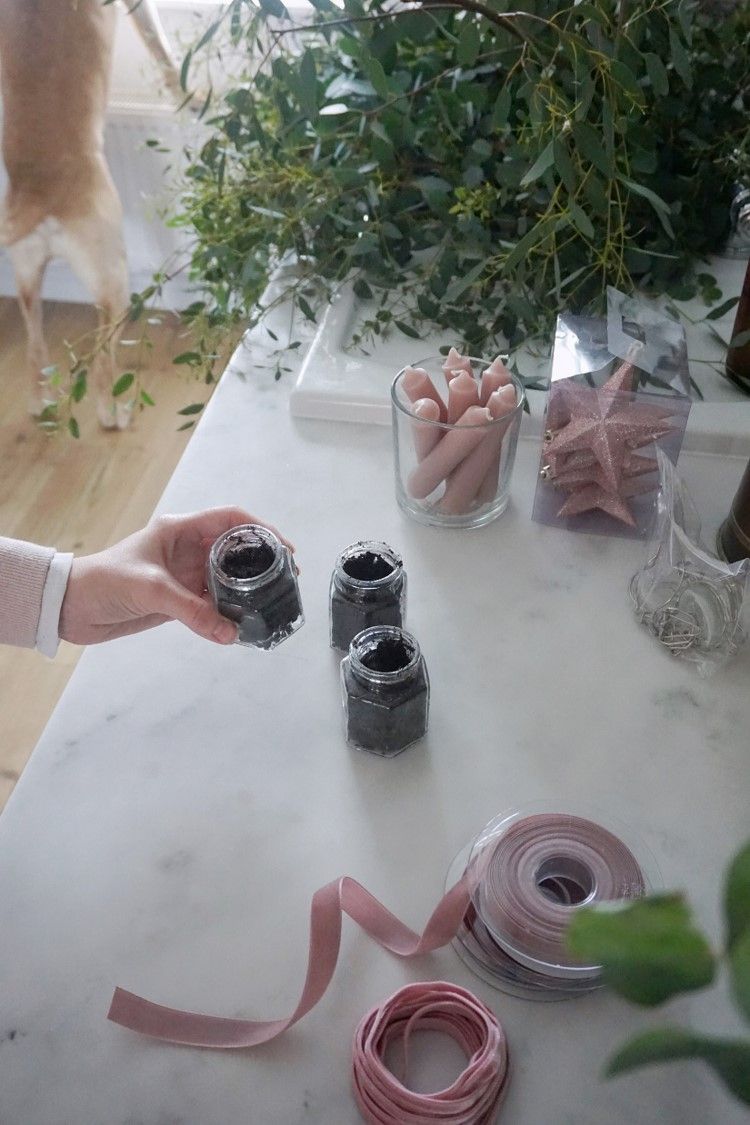
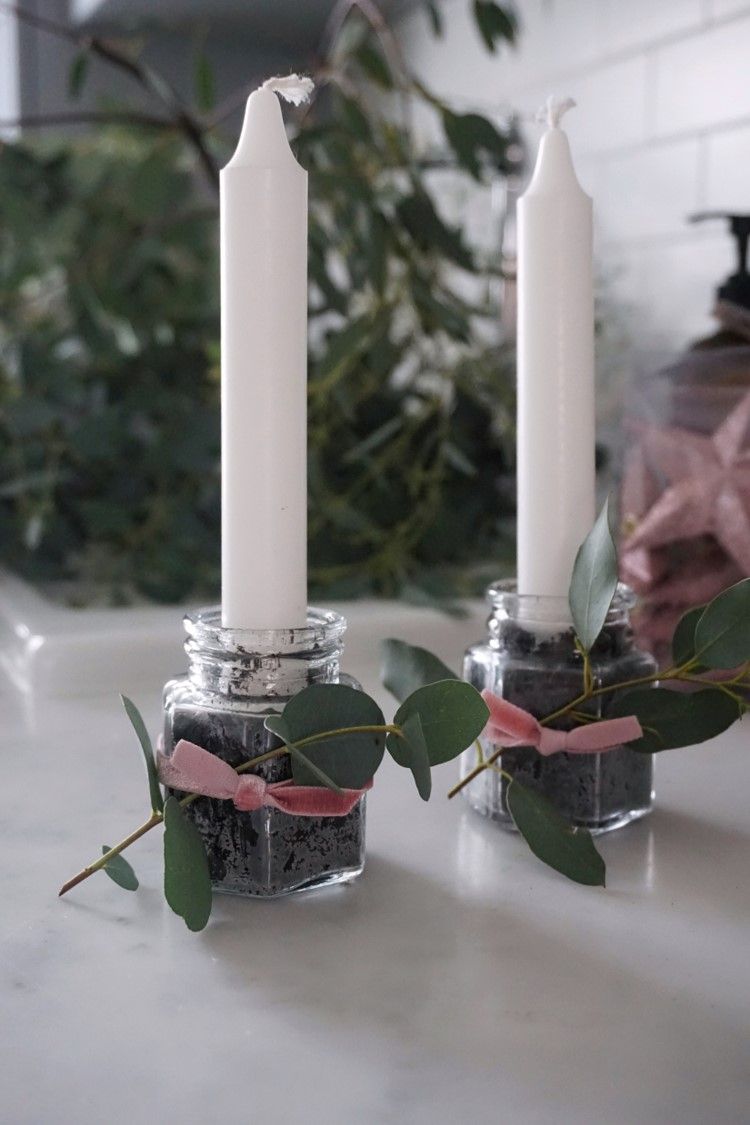
These little jars make the perfect candle holders. Fill them up with soil, make a hole in the middle and slot the dinner candle in. Make sure the soil is really compact to hold the candle in place – it must not wiggle. To finish tie on some foliage using some ribbon, I used elastic ribbon to give a snug hold. (Always make sure the candles are securely held in place and never leave a candle burning unattended.)

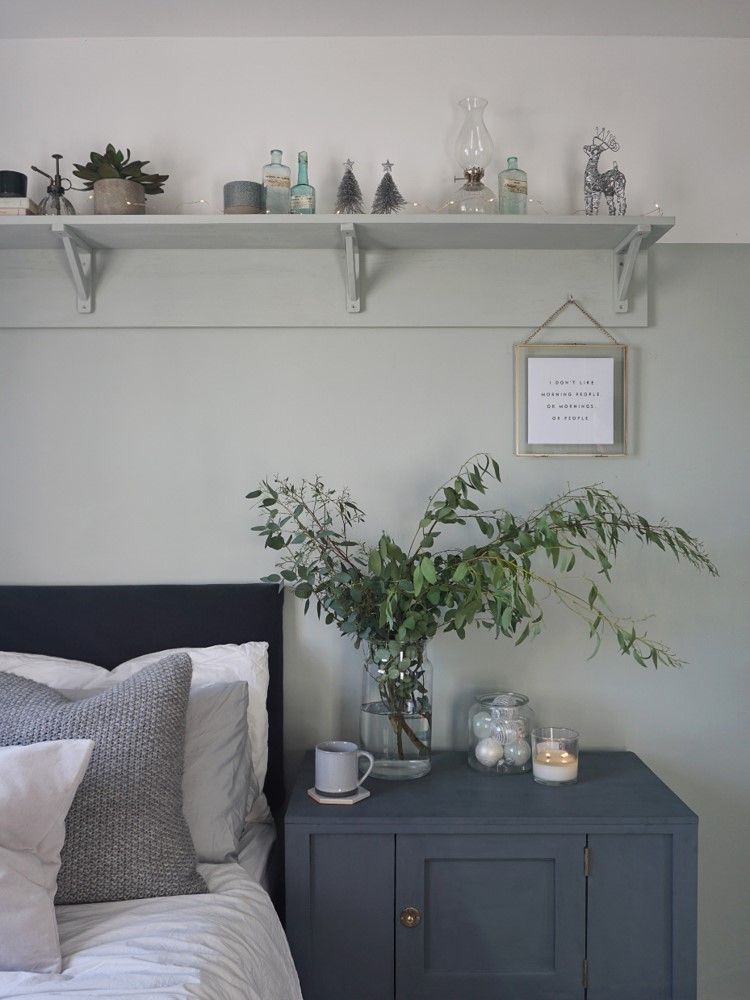
My last creative craft with eucalyptus - Stick it in a vase - No explanation needed!
I’ve popped a big vase in our spare bedroom, it smells gorgeous. We have family staying over Christmas so I like to add a few festive touches to the room. Fresh Eucalyptus in water should last about three weeks so, fingers crossed, it will last until after Christmas.